

Alien 3 Halcyon Face Hugger and Alien Queen Foetus
Begin recording, 1992 and something was stirring on model shop shelves, they were model kits but unlike anything that any modeler outside of a studio or production warehouse had ever seen, or had experienced before!
With David Fincher’s fitting conclusion to the classic Alien series, and yes I personally believe it to be a hugely underrated film, in its artistry, design, and a nihilistic bleak existential look at humanity, humanities condition, and the Universe that it has come to inhabit in all its harrowing bleakness and end of days! For this bleak outlook amongst many other adjectives, this film has been universally criticized in the negative without realizing that in Life some of us do not realize a happy ending, and yes life can be bleakly strewn with the wreckage of ones own self beyond the debris made manifest! But getting off the psychology rocking horse there are models to talk about!
Leaping off the store shelves from 1992-1995 were the Halcyon Alien, Aliens, and Alien 3 model kits. Halcyon, Halcyon Days was a toy and model company established in the United Kingdom 1986-1995 (ref: Xenopedia- Pg1.) For the time, and even up until today some twenty to thirty years later, these models can comparatively hold their own against their contemporary counterparts!
Not only did Halcyon produce hardware from the films, like the Nostromo Space Tug, The Narcissus EEV, Power Loader, Drop Ship, The Marines APC, and the USS Sulaco- they produced a full range of the Alien Xenomorph Creature in all its forms, from Face Hugger to Embryo, Chest Burster to its final form the Adult!
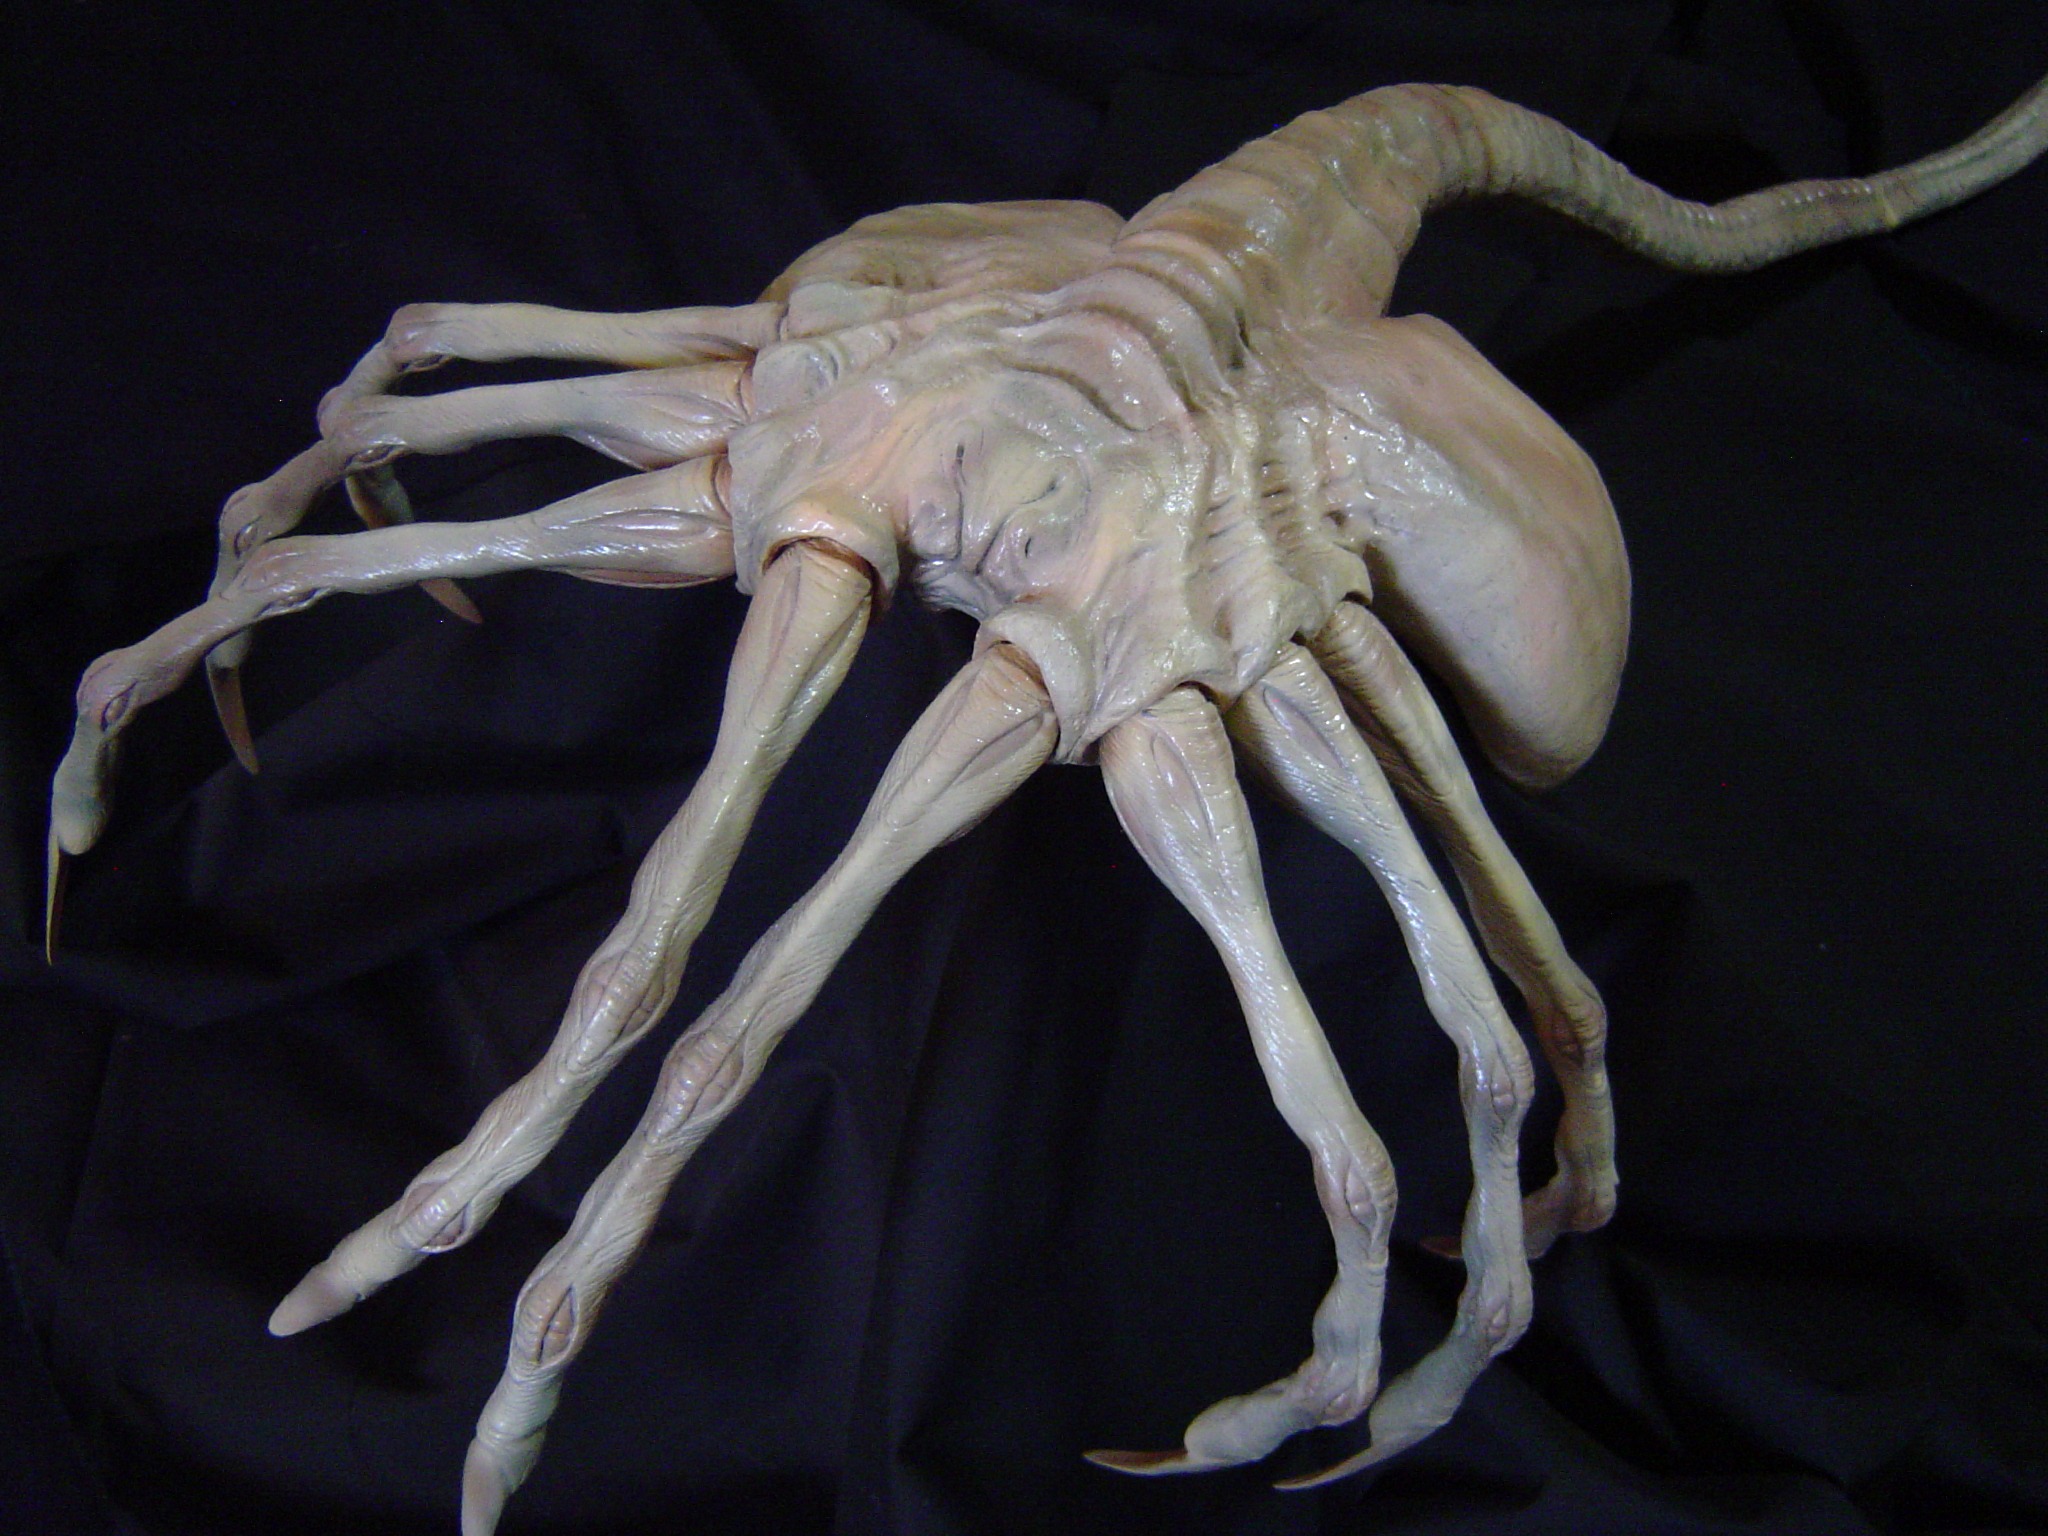
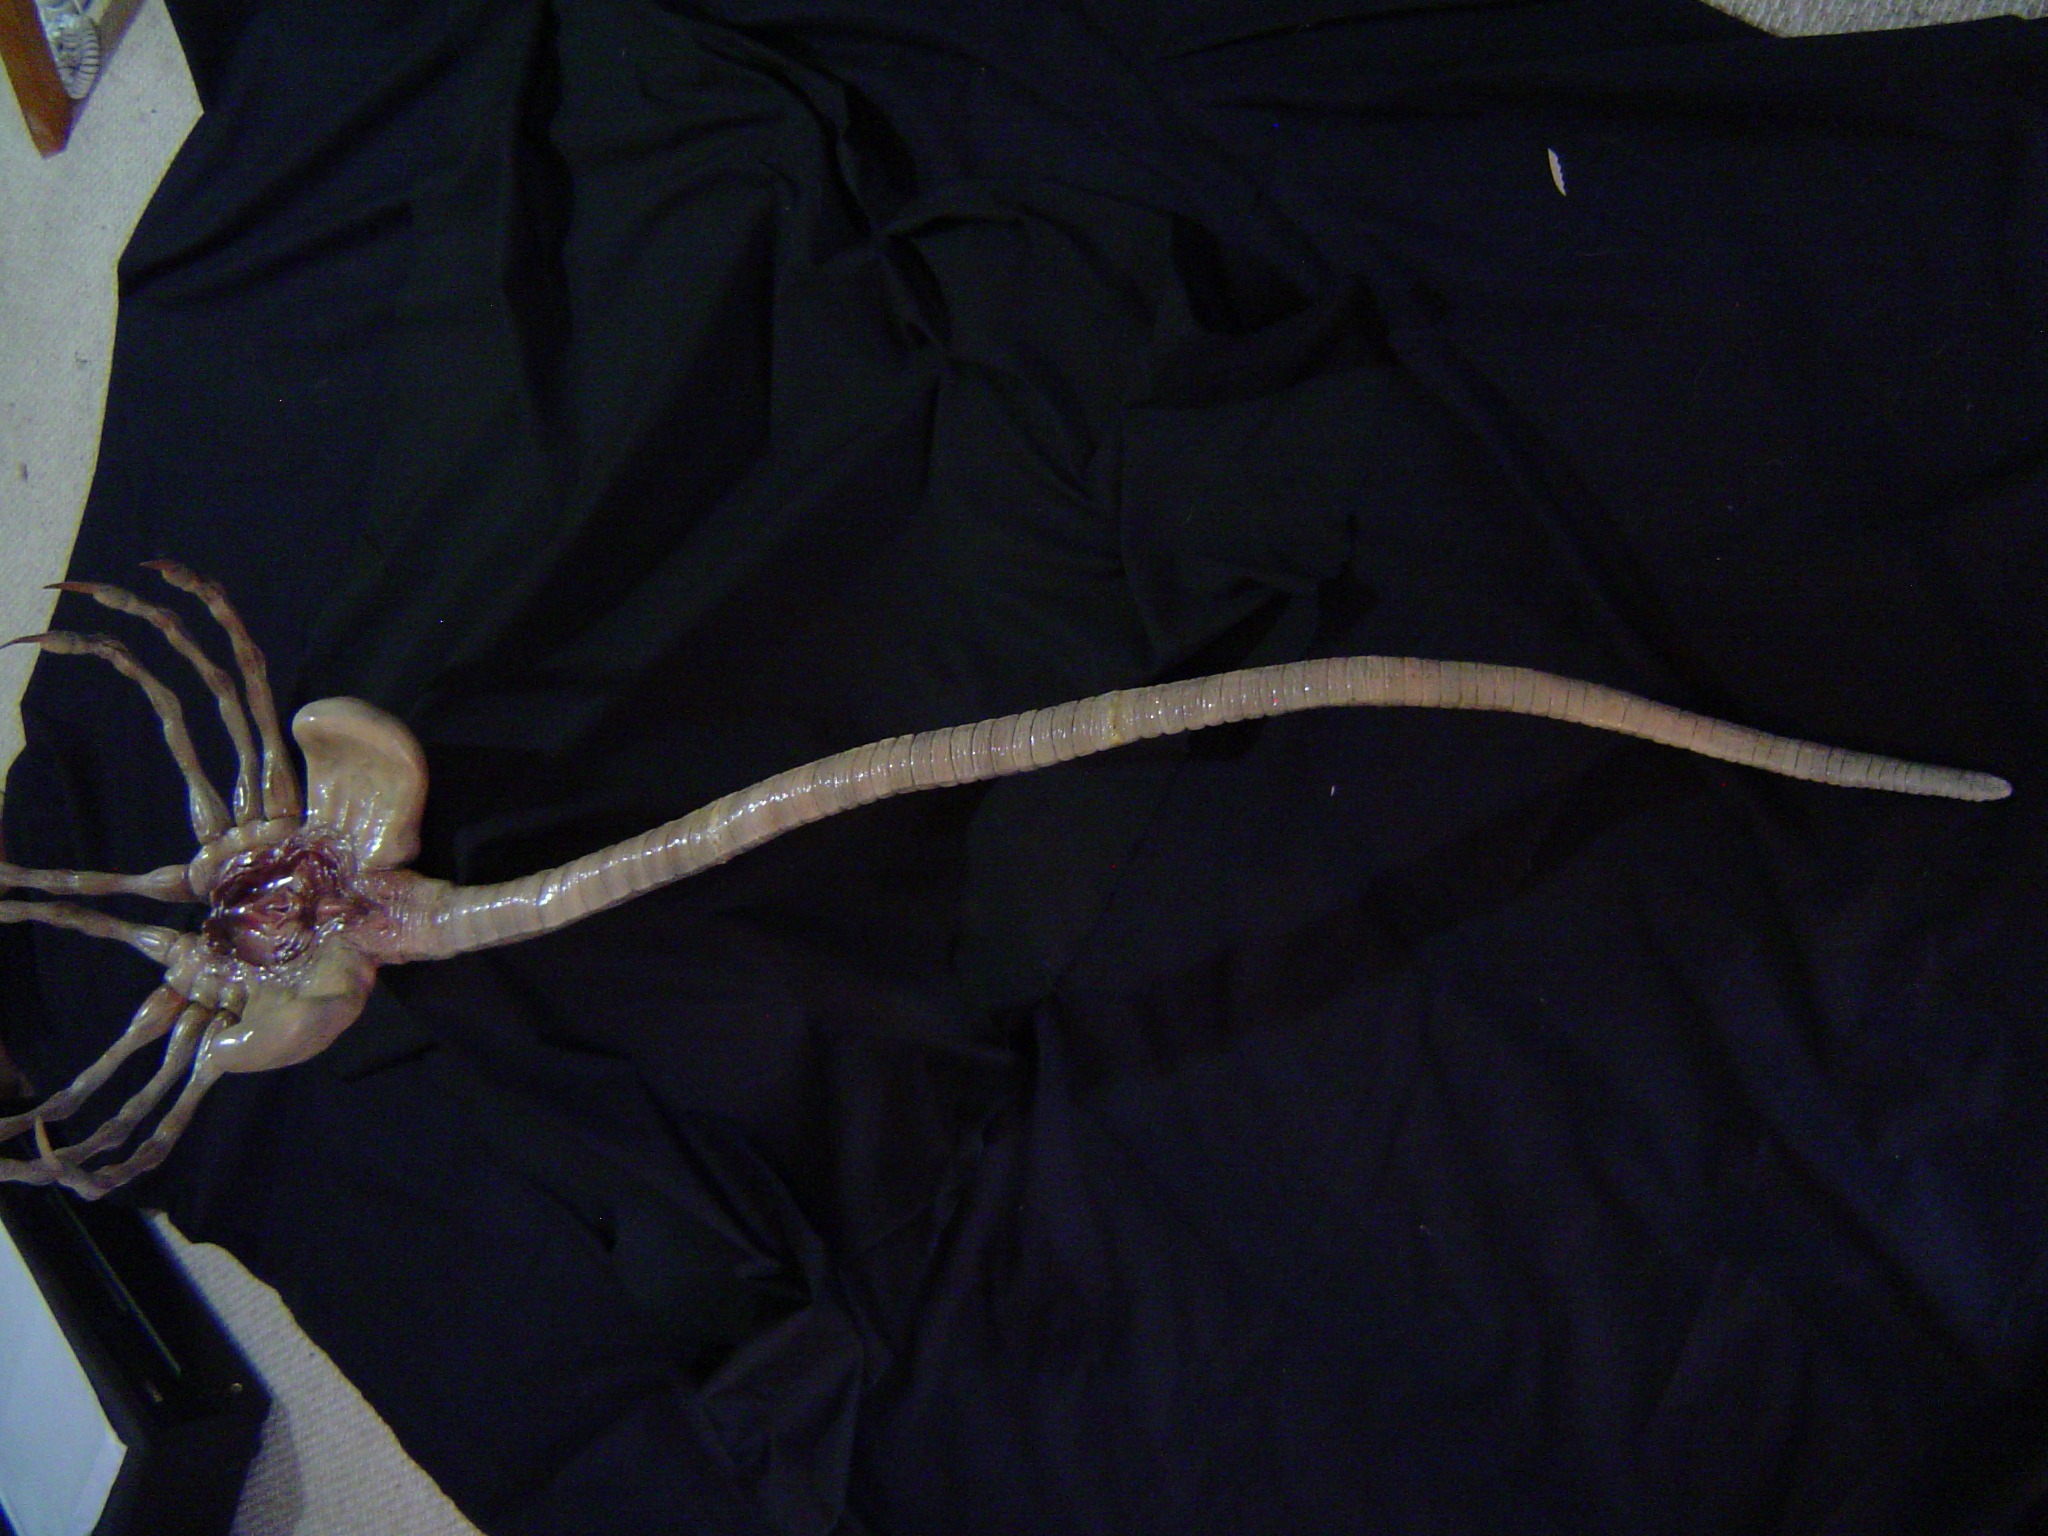
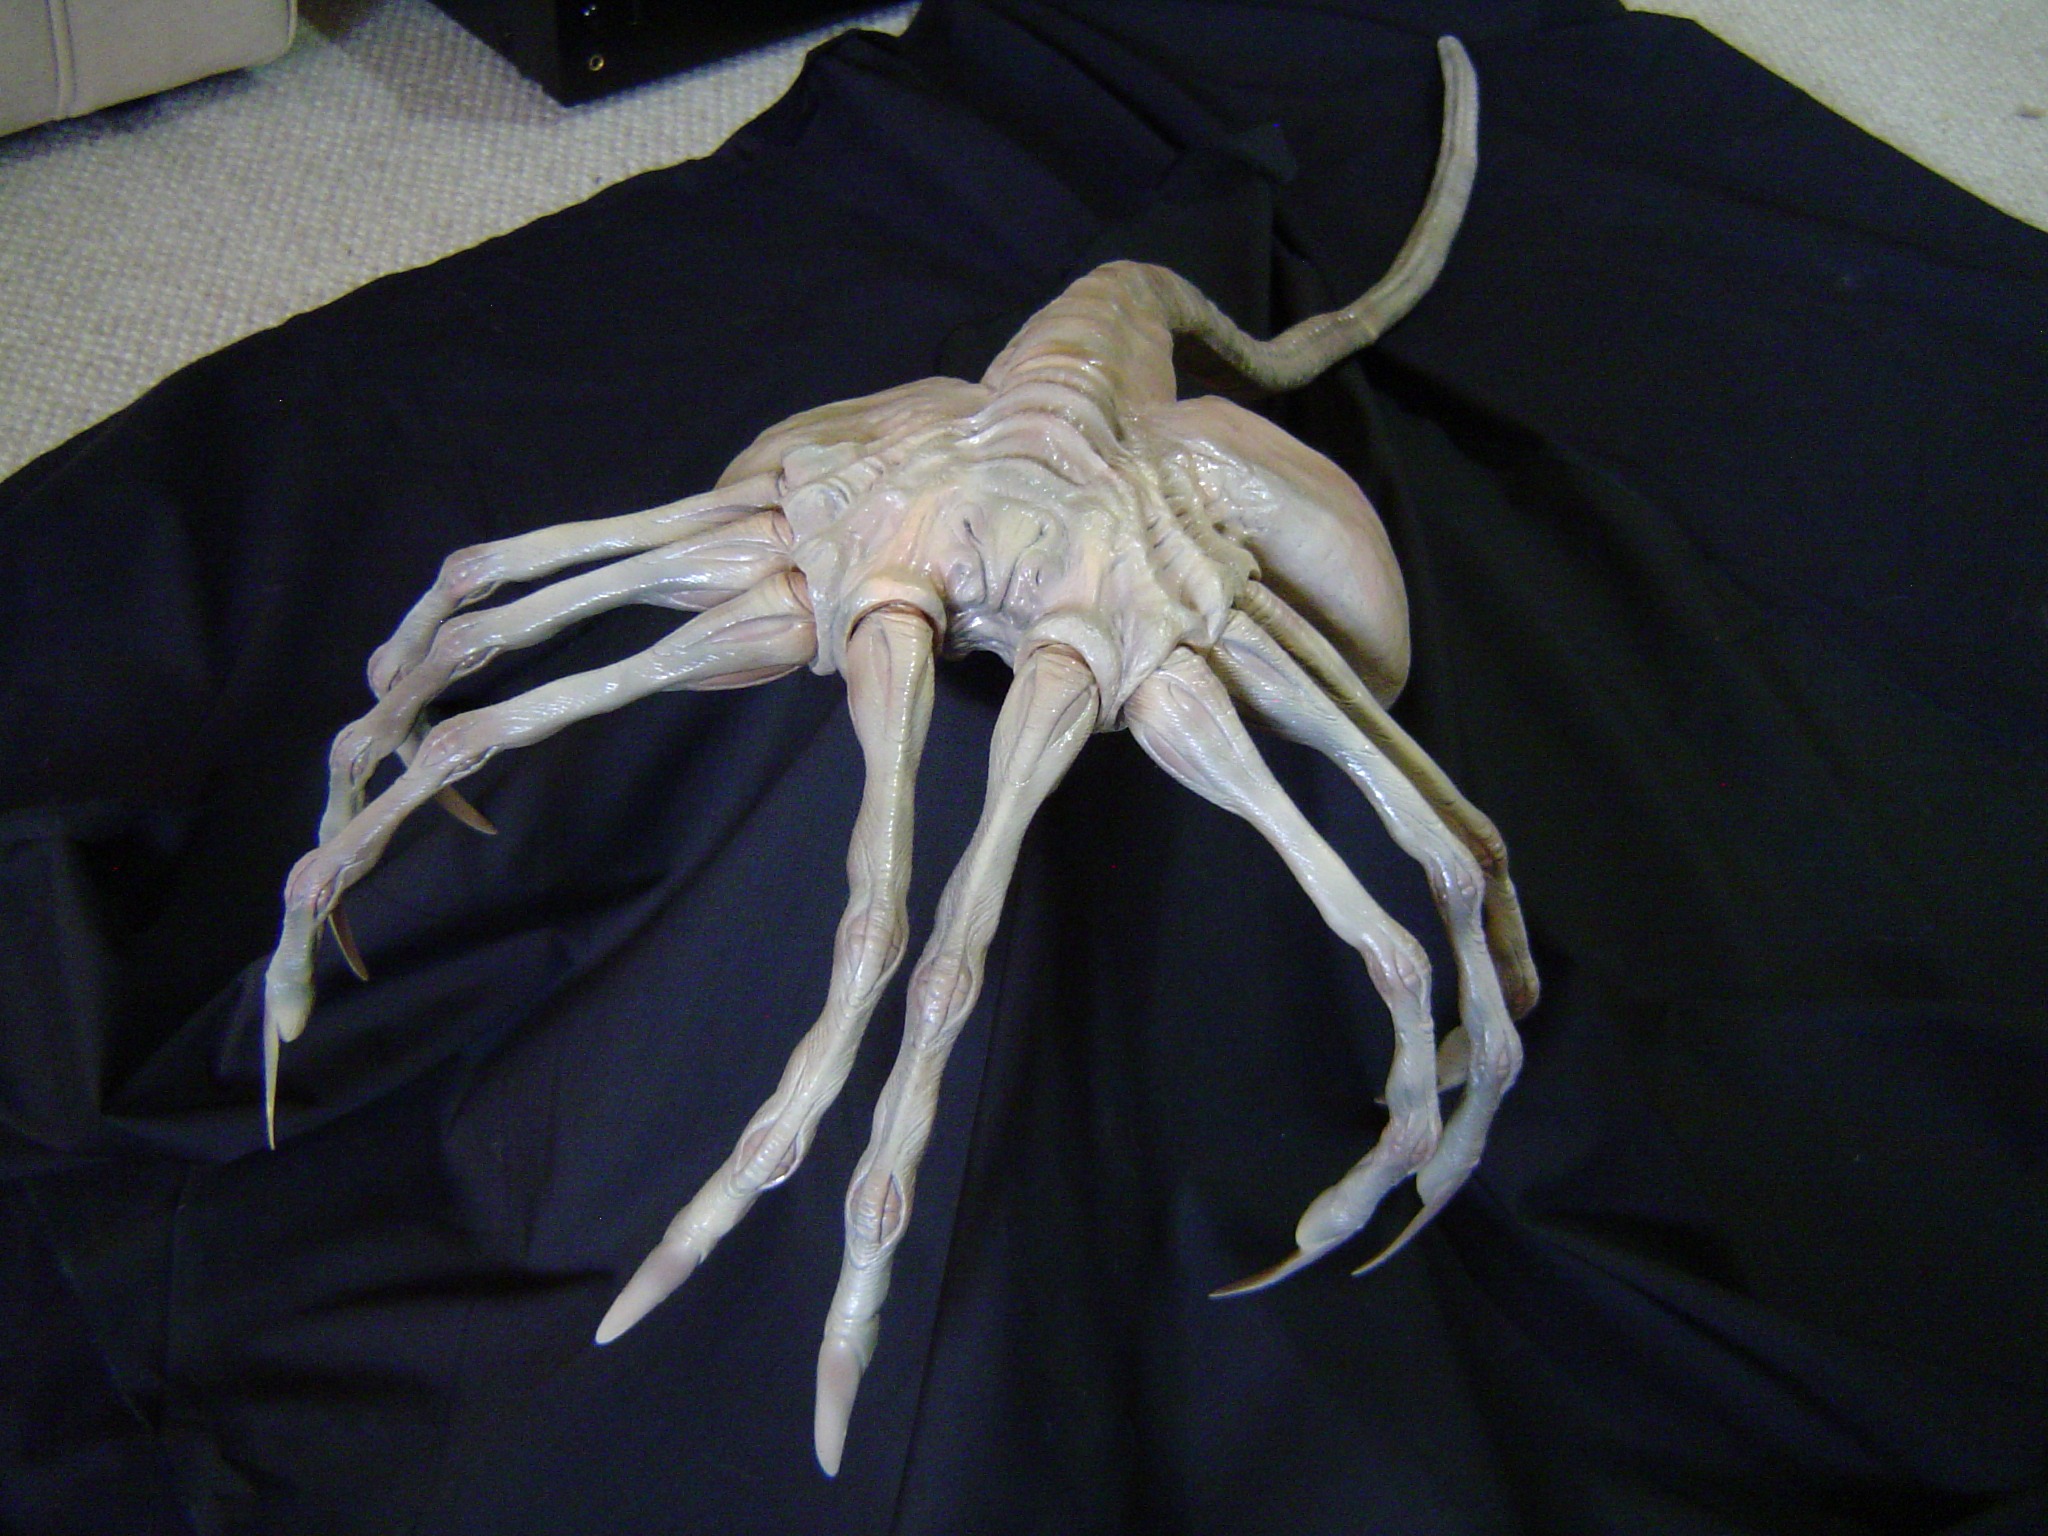
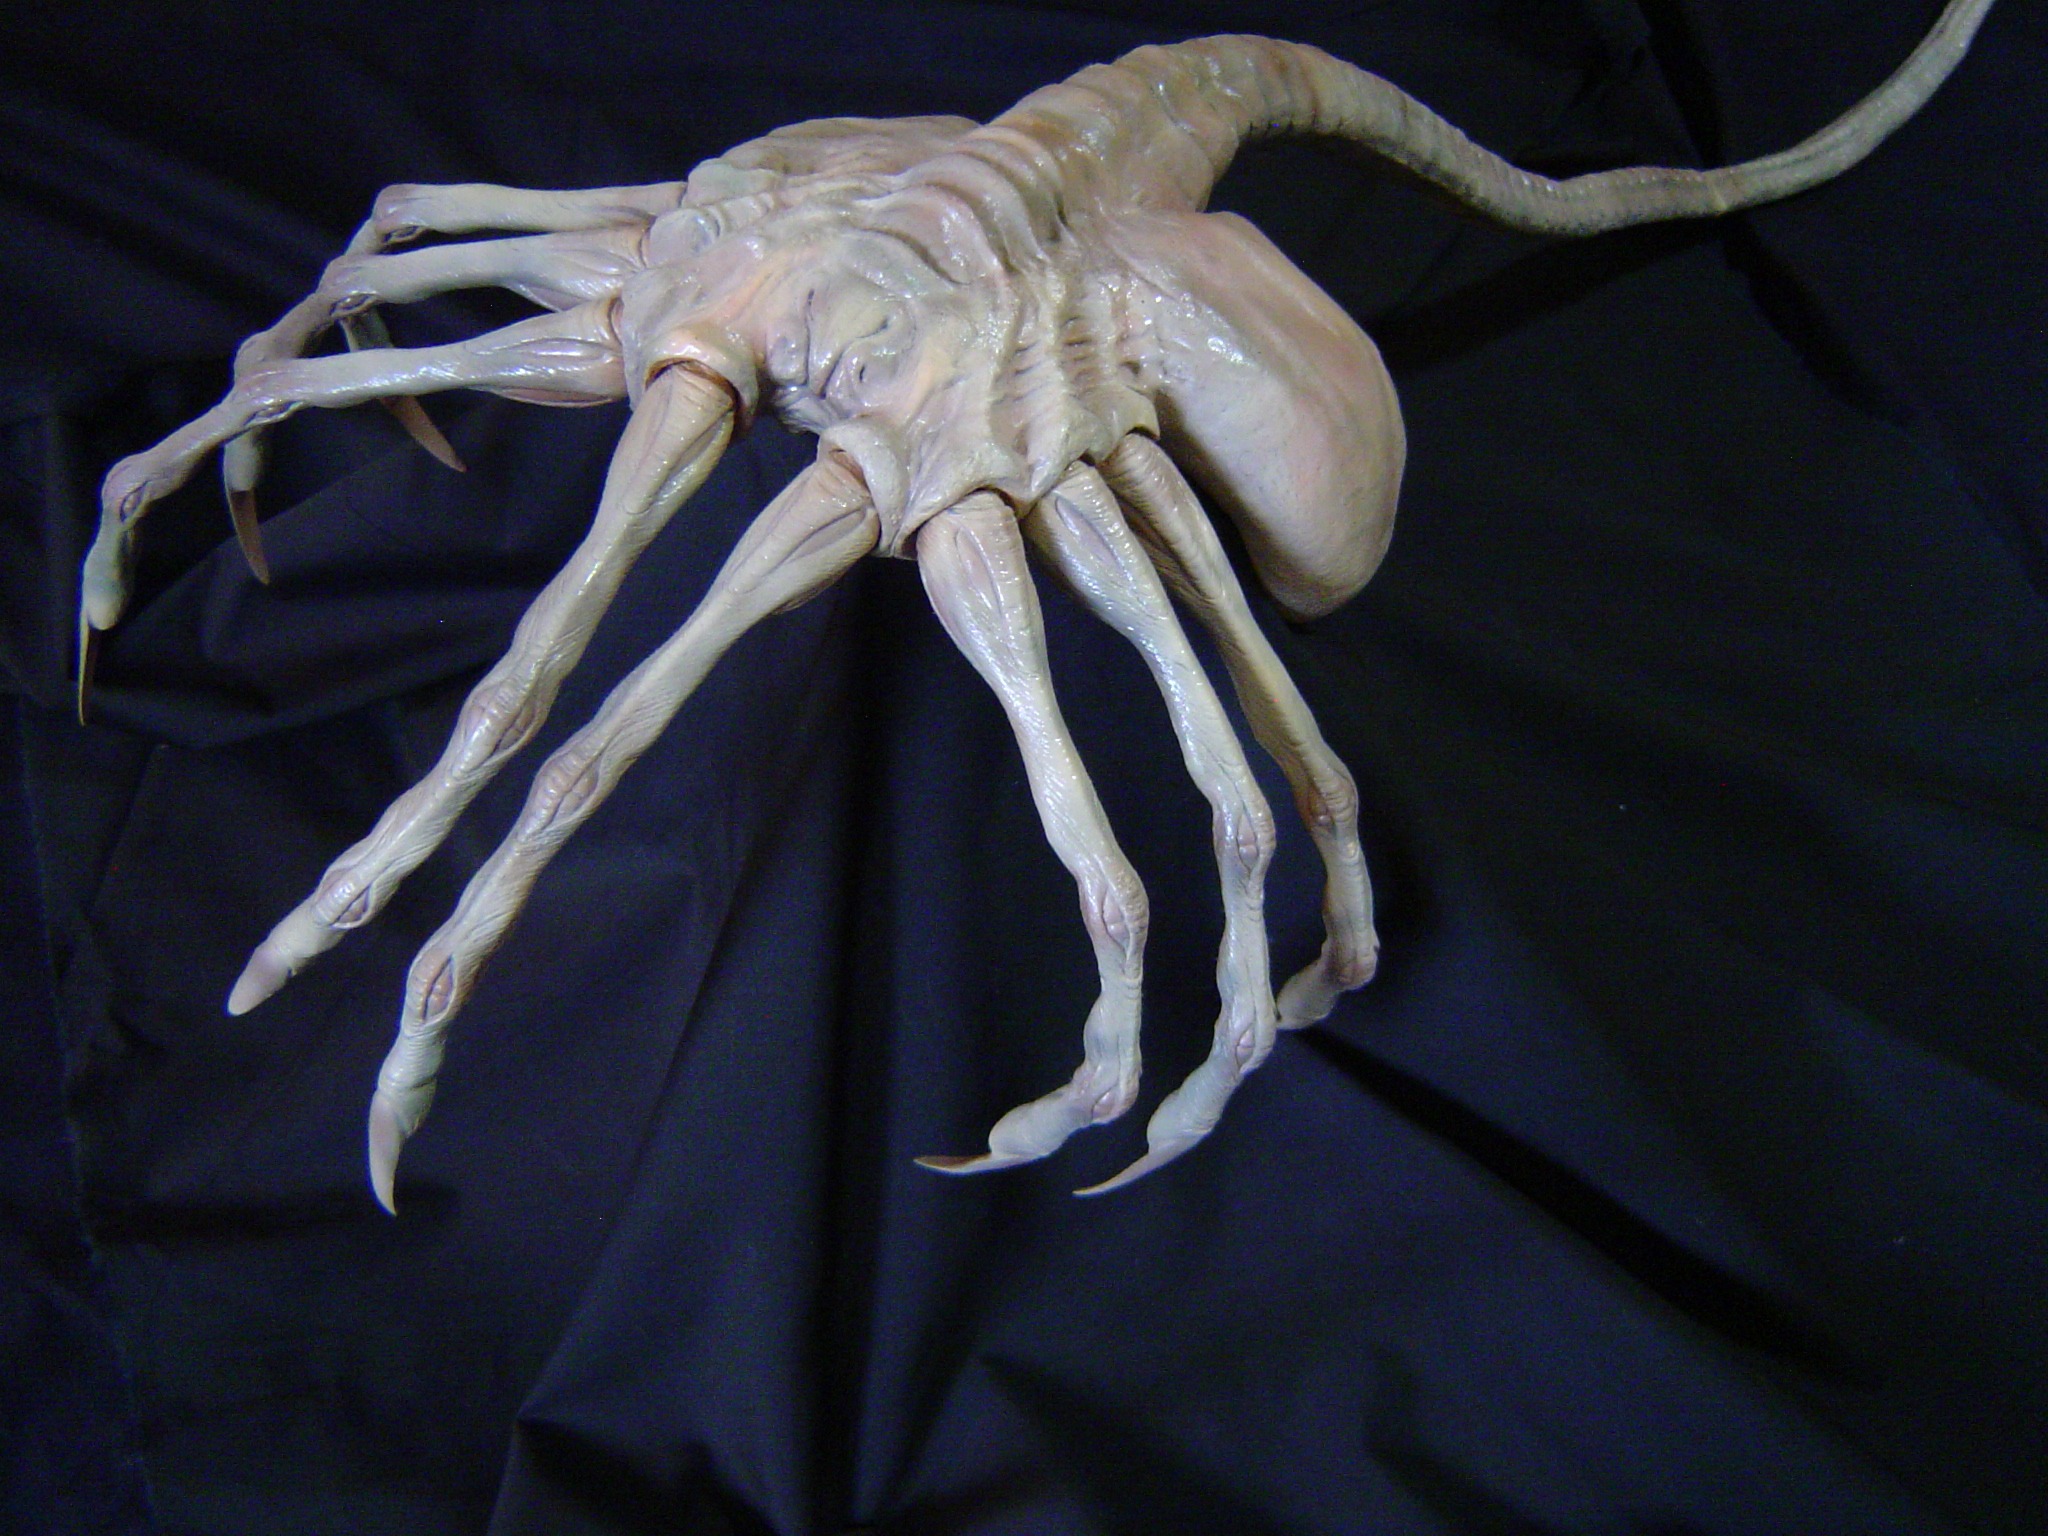
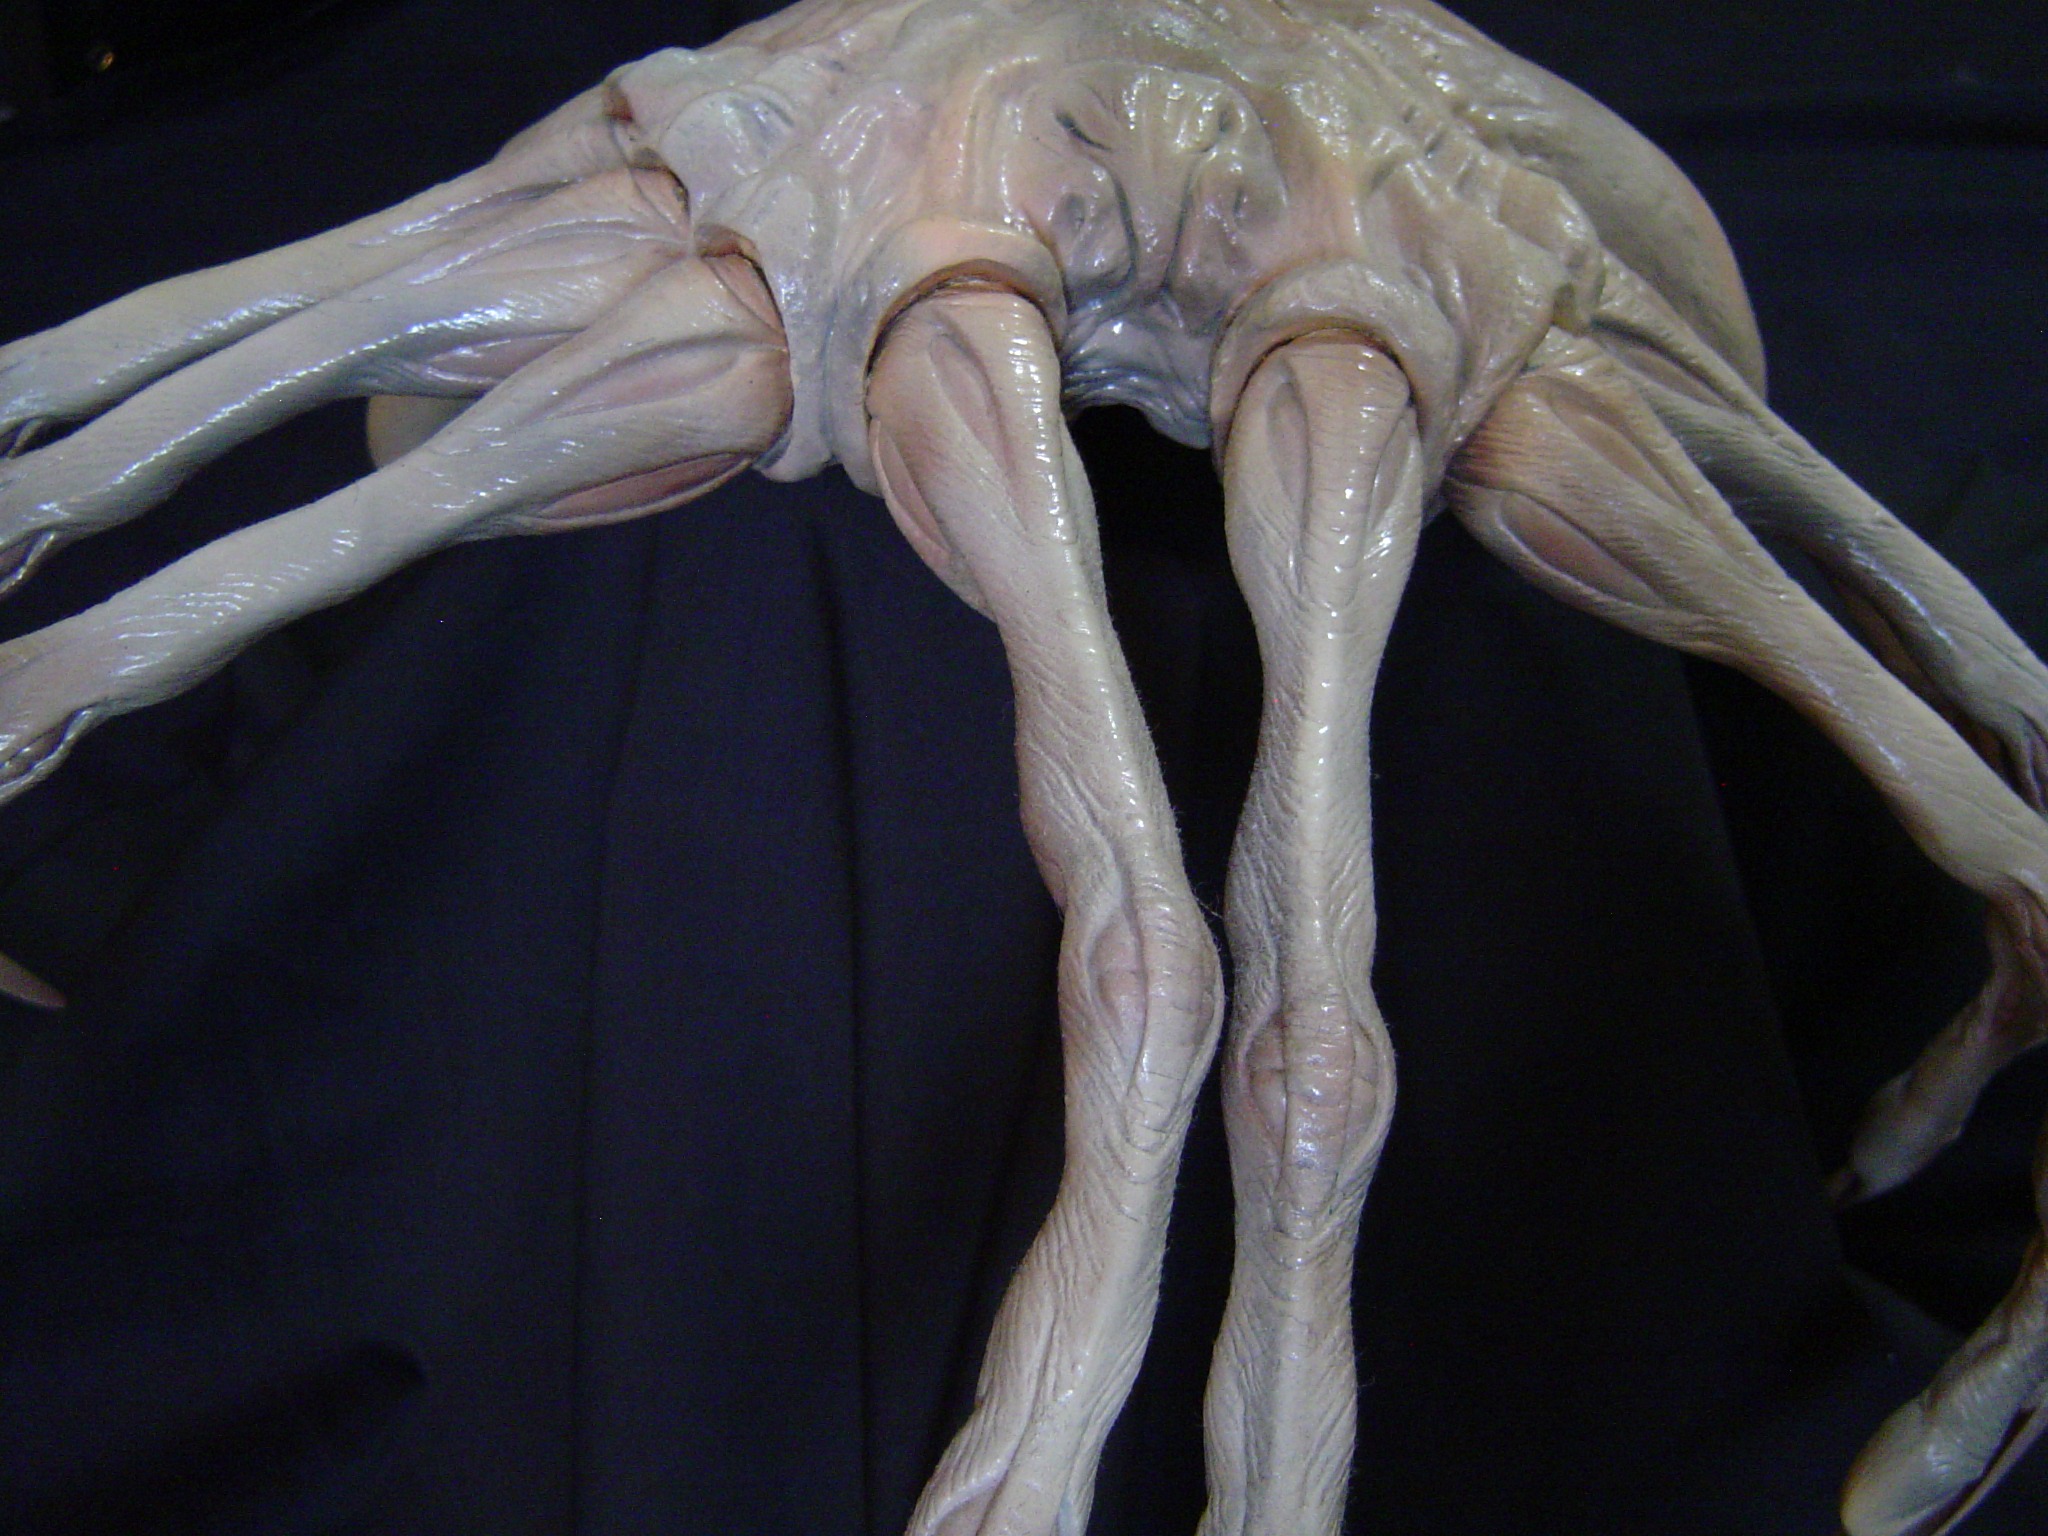
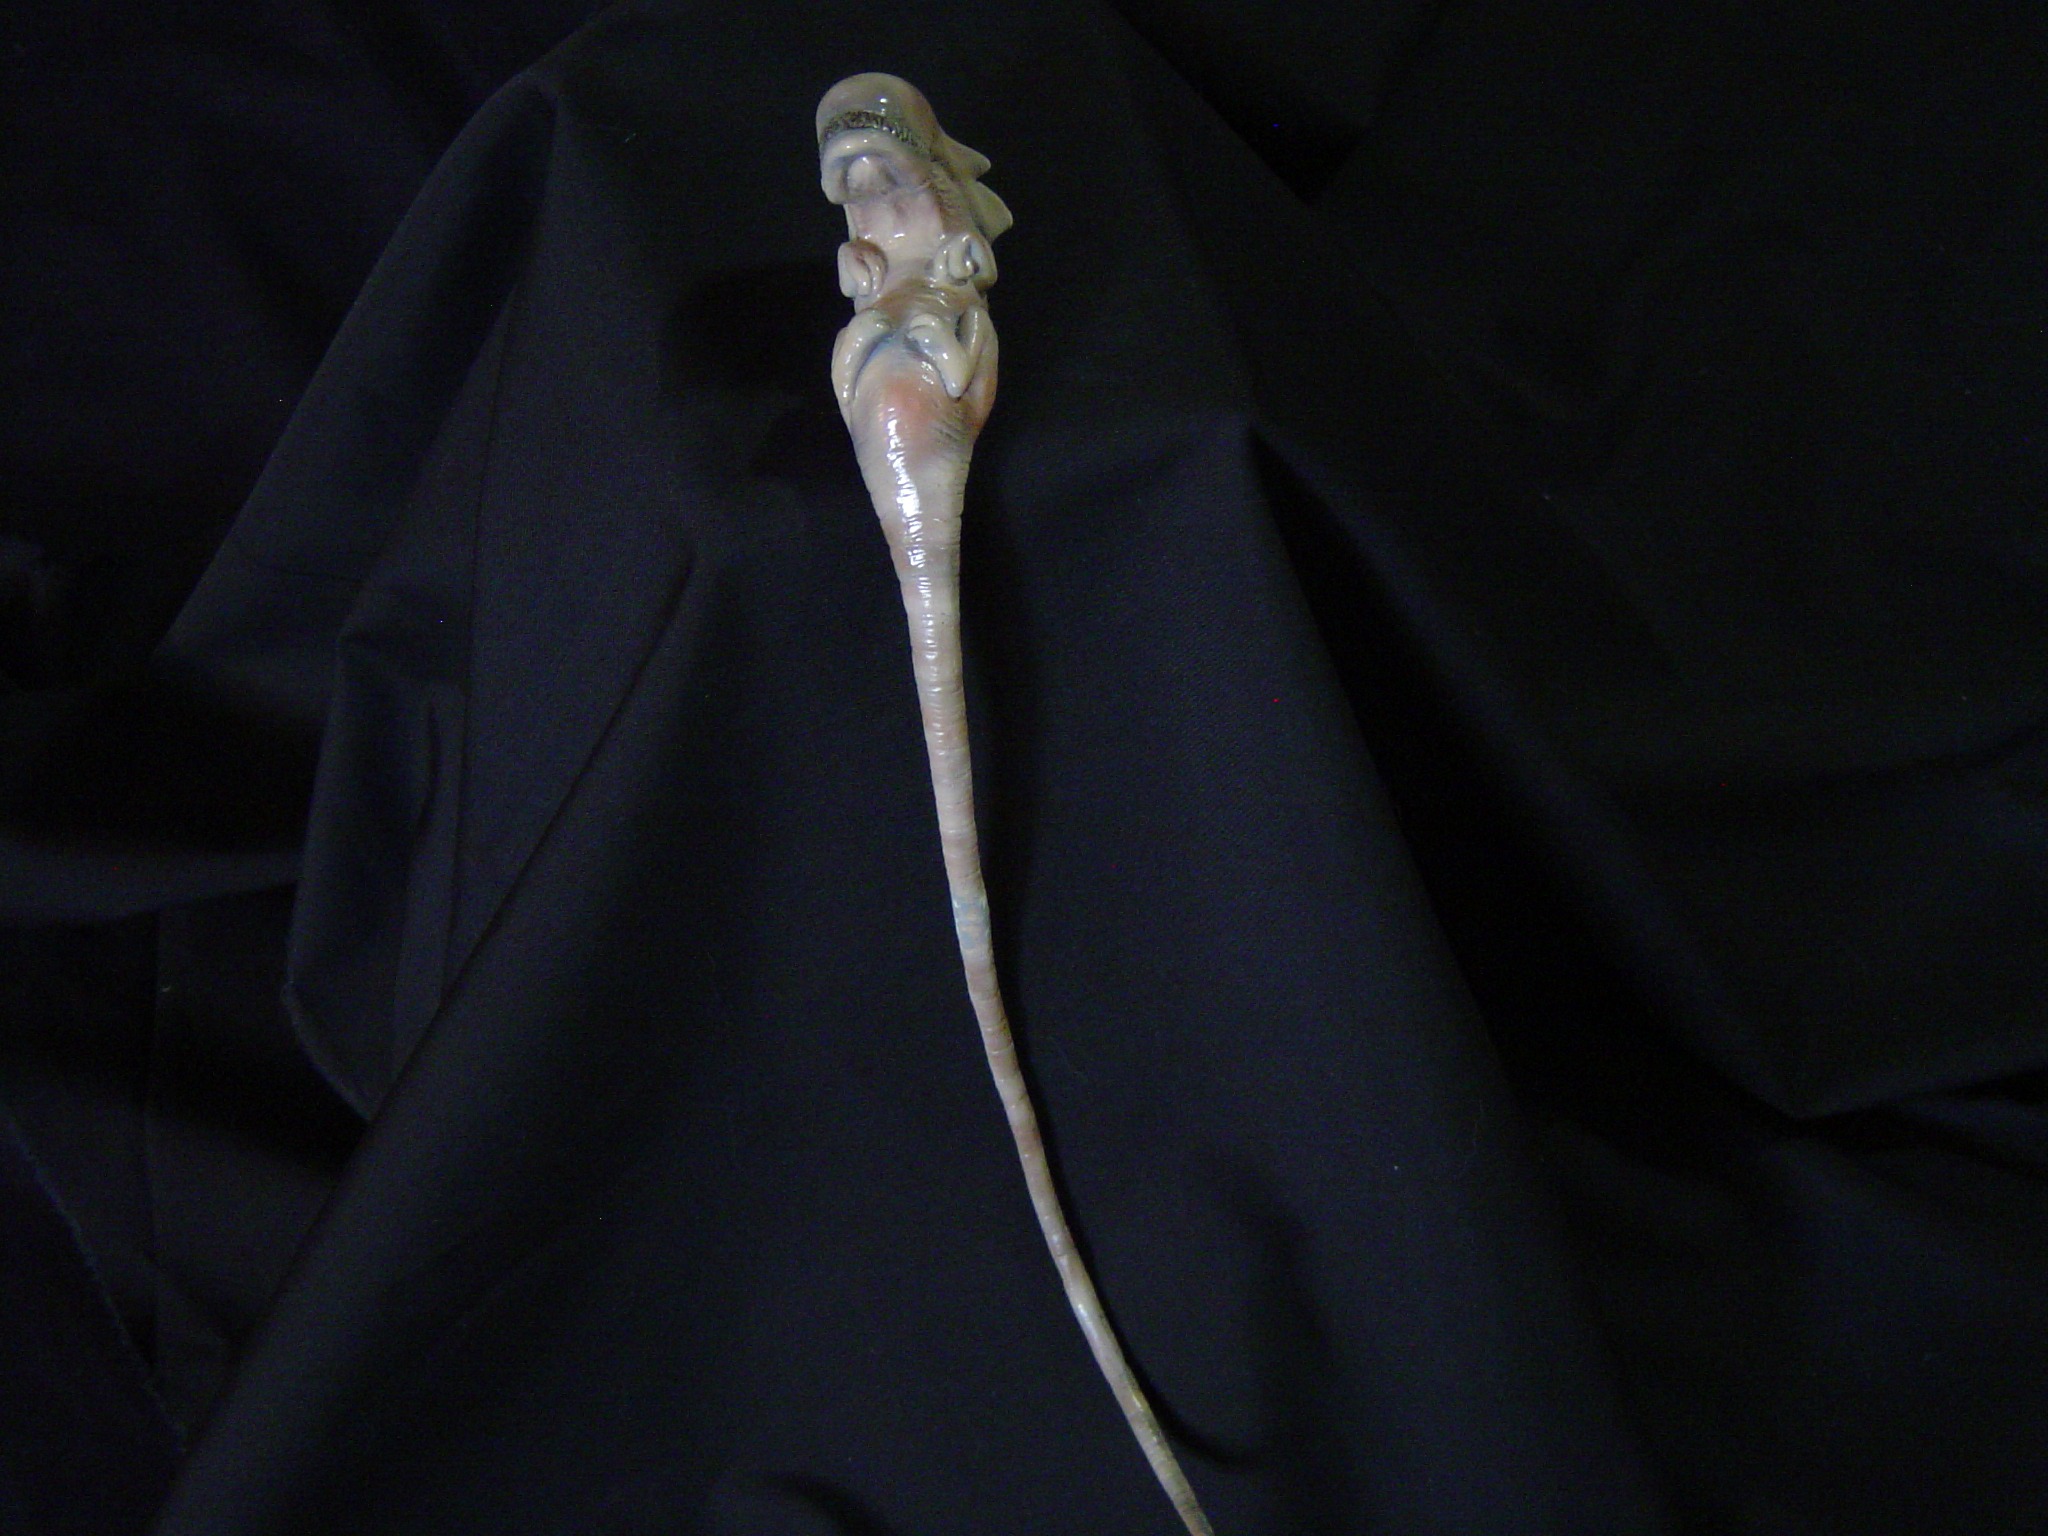
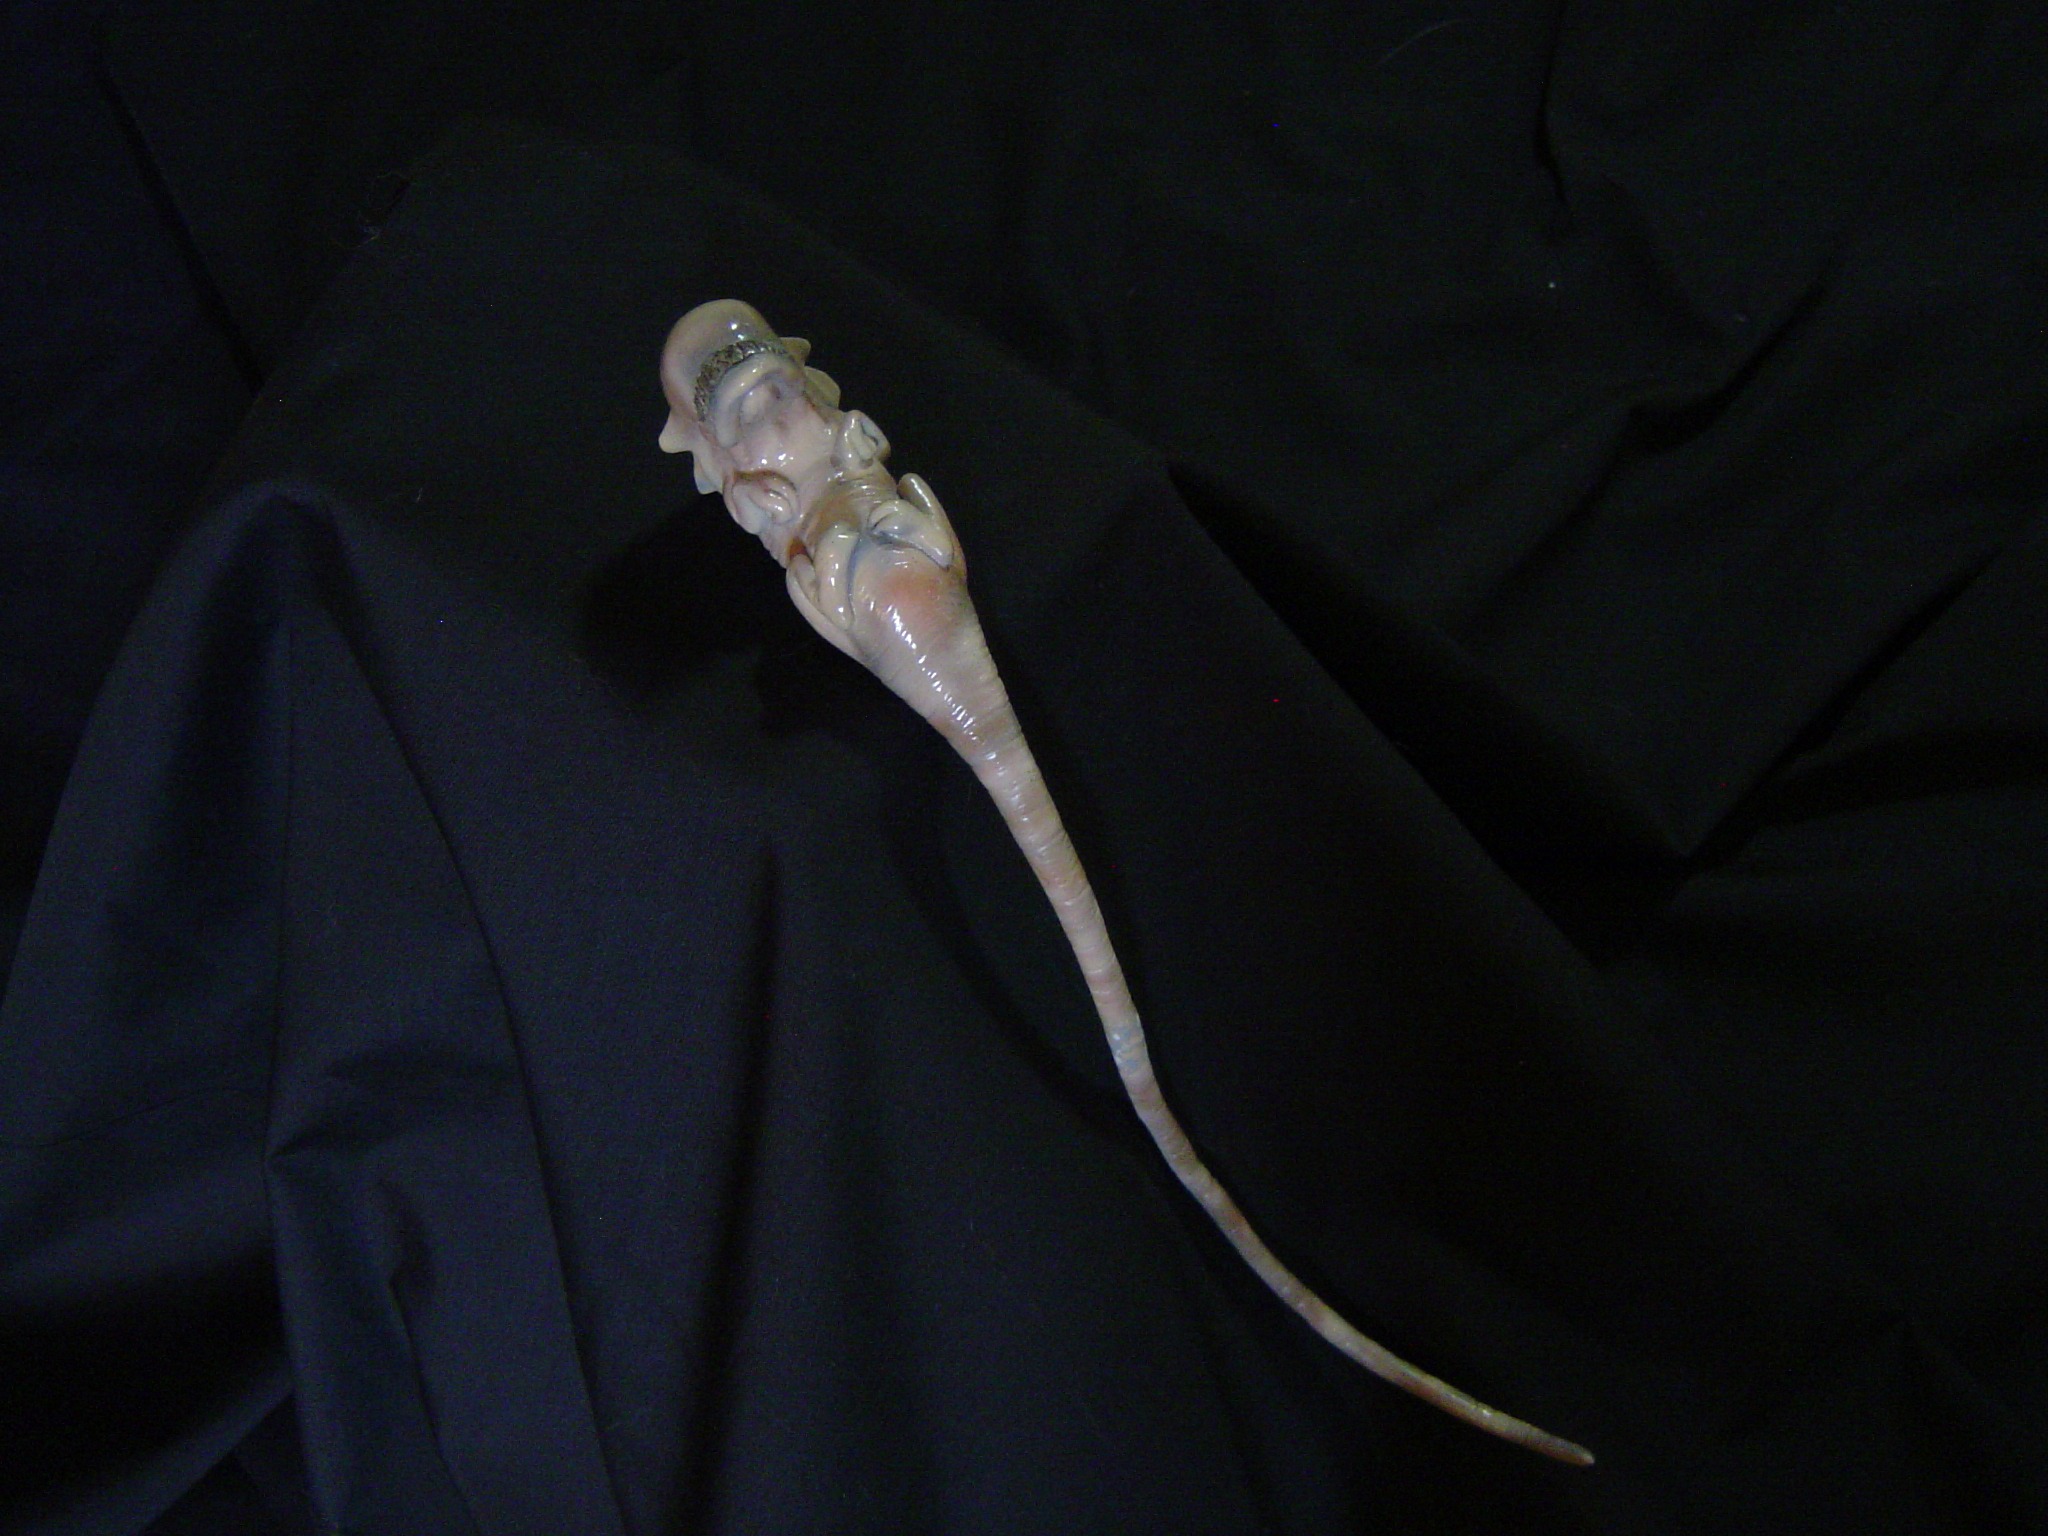
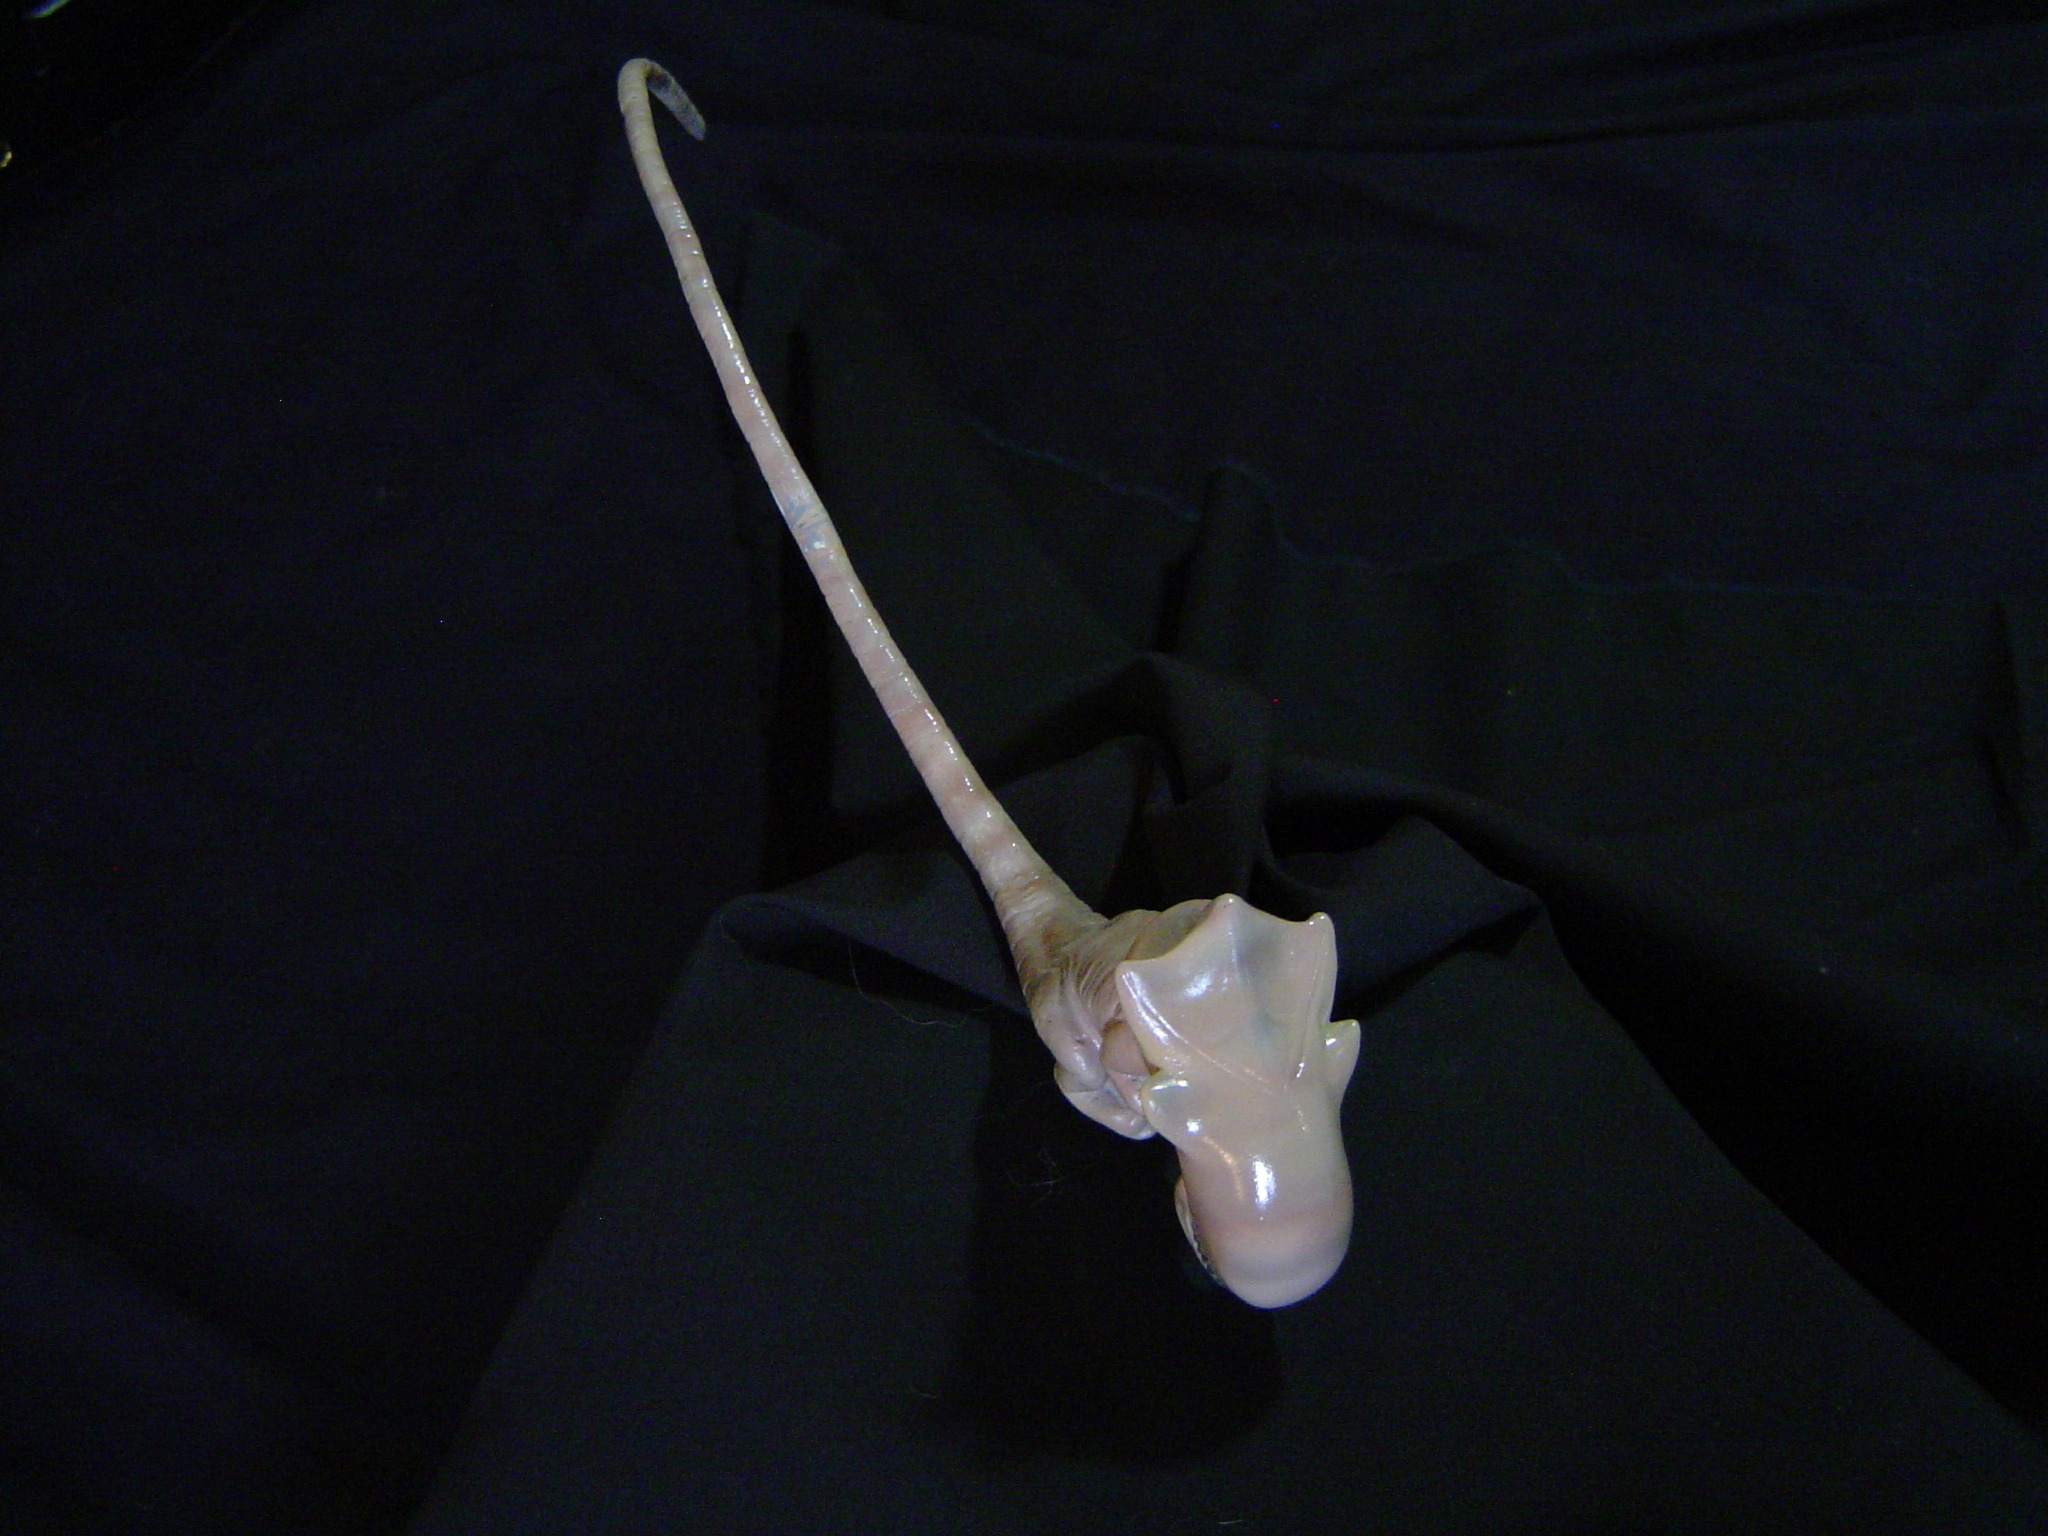
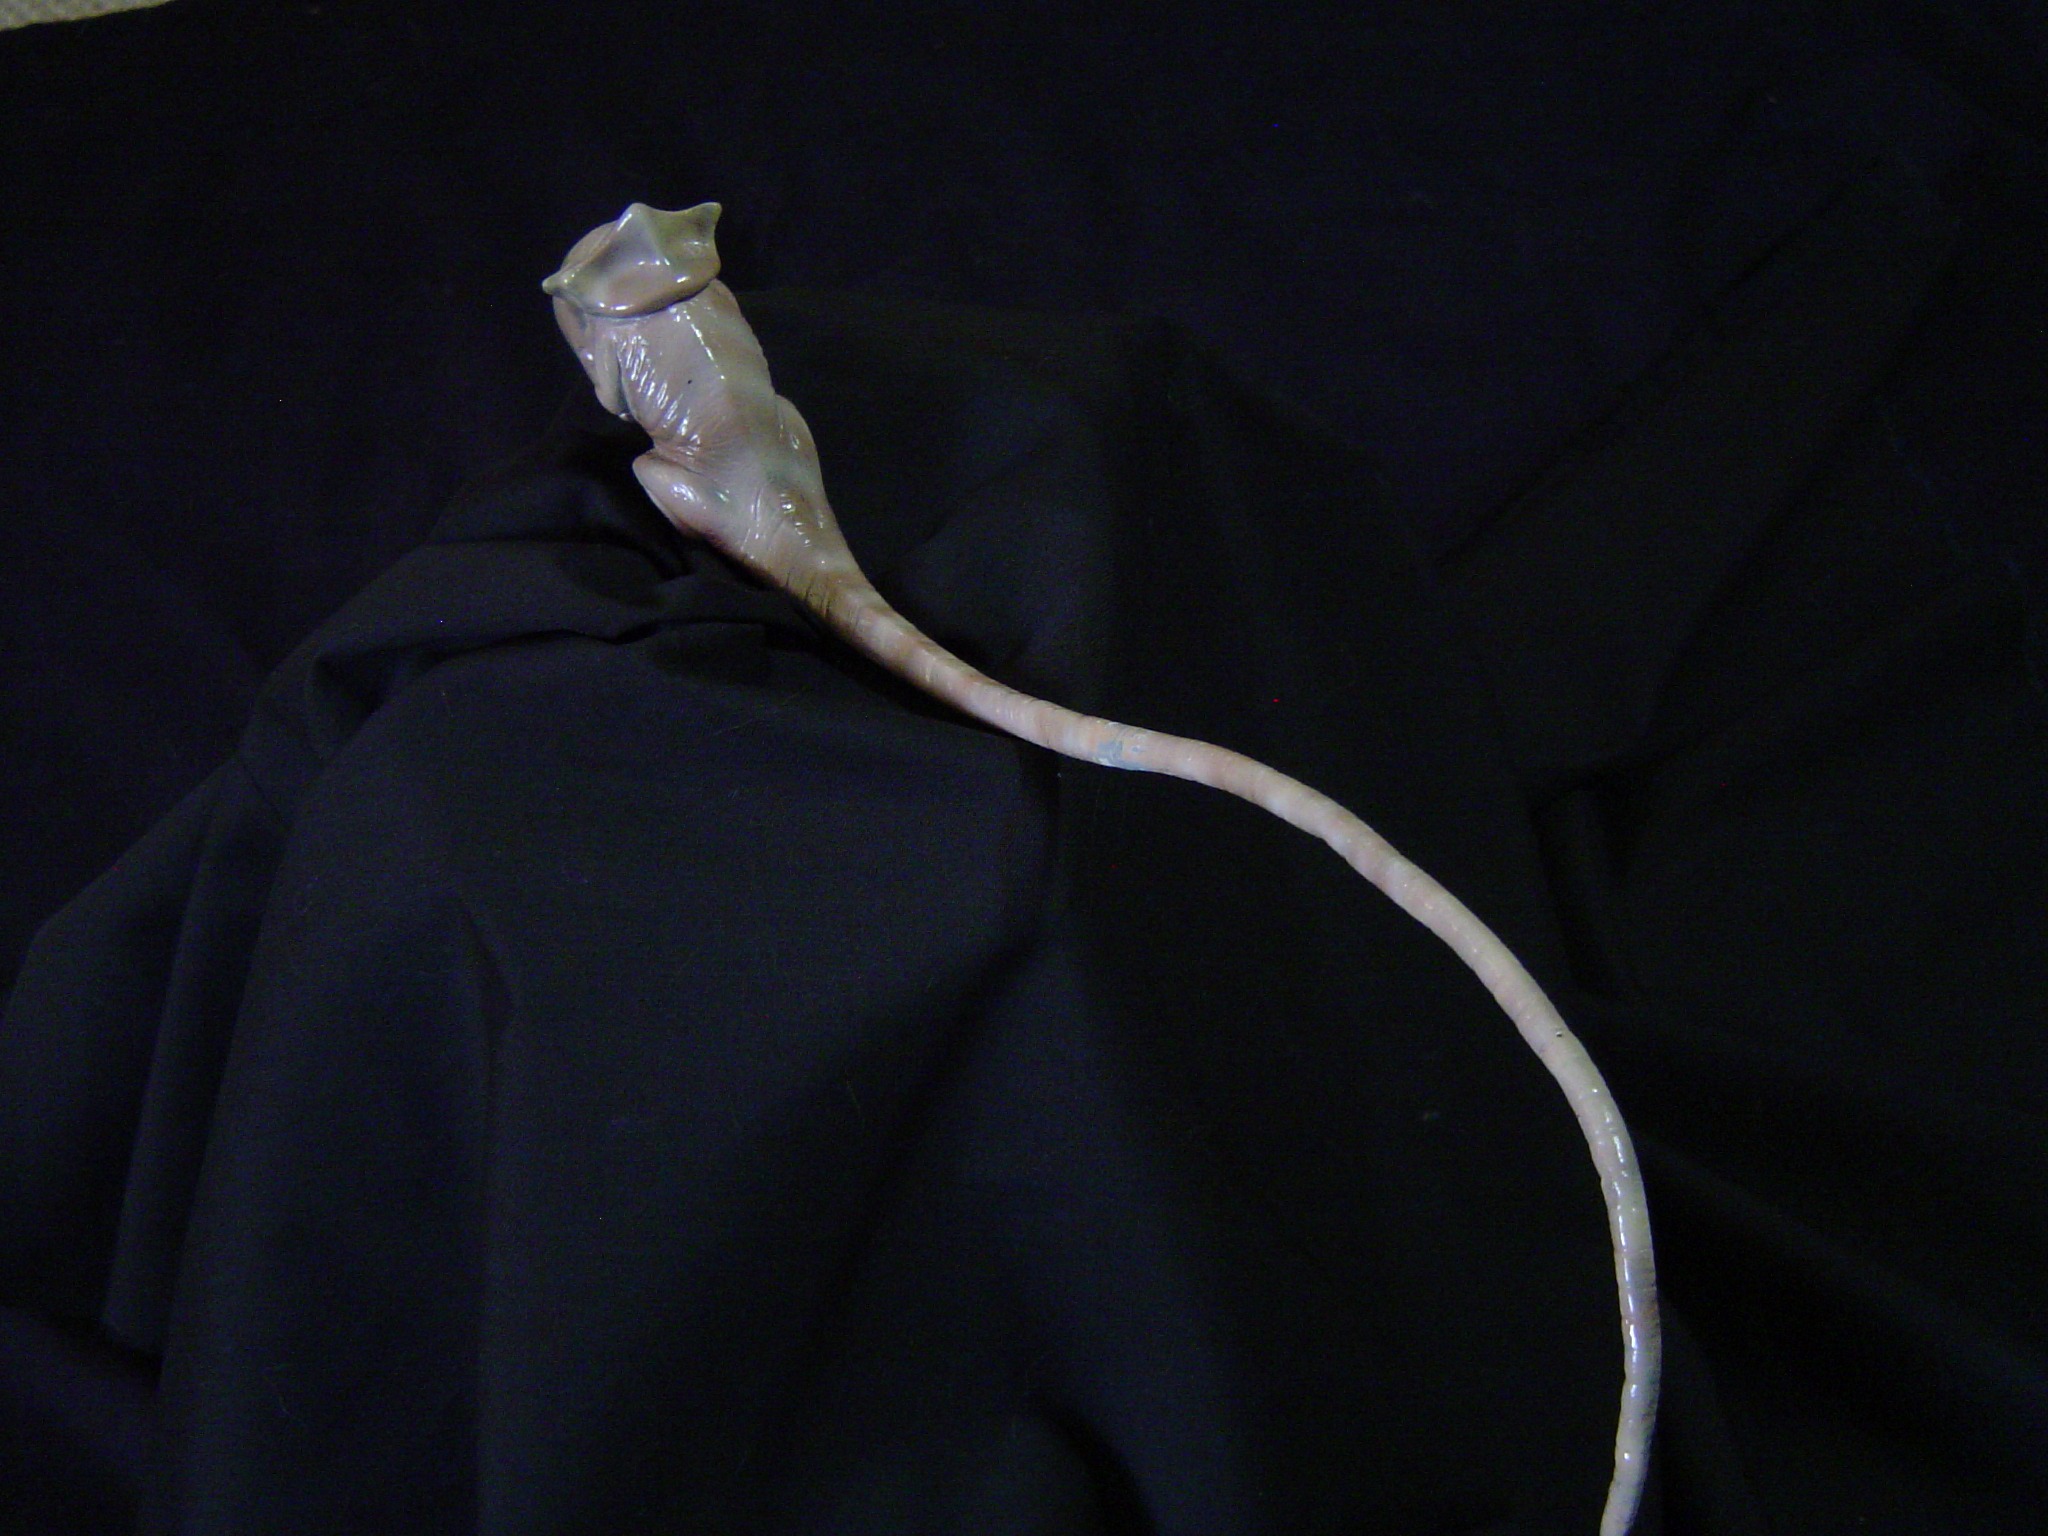
What we have here is the Alien 3 Queen Face Hugger accompanied by the Queen Foetus. Both Models come together as a pack made from high-grade injected vinyl. How the model itself is produced left me scratching my head ponderously? The Hugger itself is split into two semi-equal halves. On top of the other its bottom, but it is an awkward fit especially as the kit is completely hollow? The cavities are huge! So wondered how I was going to put the two halves together as the was nothing to support the joins from the inside? It was always my intention to fill the model with something, that something being silicone as I wanted to insert wires so that there would be some element whereby I could pose the model. The wires I settled on were industrial copper lengths. I was going to use piano wire but this proved to be too inflexible. With regards to joining the two halves of the kit, I came up with the solution of pinning them together with stainless steel self-tapping countersunk screws. These were applied to both halves. I was not worried too much about holes as the vinyl is so dense it retains its memory in that once the screws were removed, the holes would close to such an extent that you wouldn’t even notice that they were there!
Having assembled the unpainted Hugger with the wires threaded throughout I asked my wife if she could help me fill it with silicone from a pump dispenser. Silicone can be bought from any hardware store. Anyway, having enlisted my wife’s help, do not involve your children in this procedure, I commenced pumping the silicone inside the model. Now being under pressure you have to make incisions in areas such as the tip of the tail and fingers so that the silicone can force the air out! If you do not do this pumping literally grinds to a halt under its own pressure! This can be quite messy to do and my wife was not happy as silicone is very difficult to wash off as it laterally becomes greasy once you try to wash it off, even with warm, hot soapy water!? It’s quite an ordeal! I would very much like her assistance on my two Chest Burster’s, The Queen and the Kane Chest Burster. But somehow I don’t think that it’s going to happen!?
Having filled the Face Hugger we then left it so that the silicone could go off. I left it for about two or maybe three days! After this, I peeled any excess silicone that dribbled upon the outside of the model. I then gave it a thorough wash in the usual warm water and soap liquid. I dried it off with the hairdryer. After this, I lay down some black automotive primer and then some grey! Big mistake! The black primer having a solvent reacted violently with the vinyl in that it took a very long time to cure and dry out! It made it very difficult for the subsequent layers of acrylic and enamel paint to go down and fix. But eventually, the reaction began to lose its efficacy! I won’t do that again!
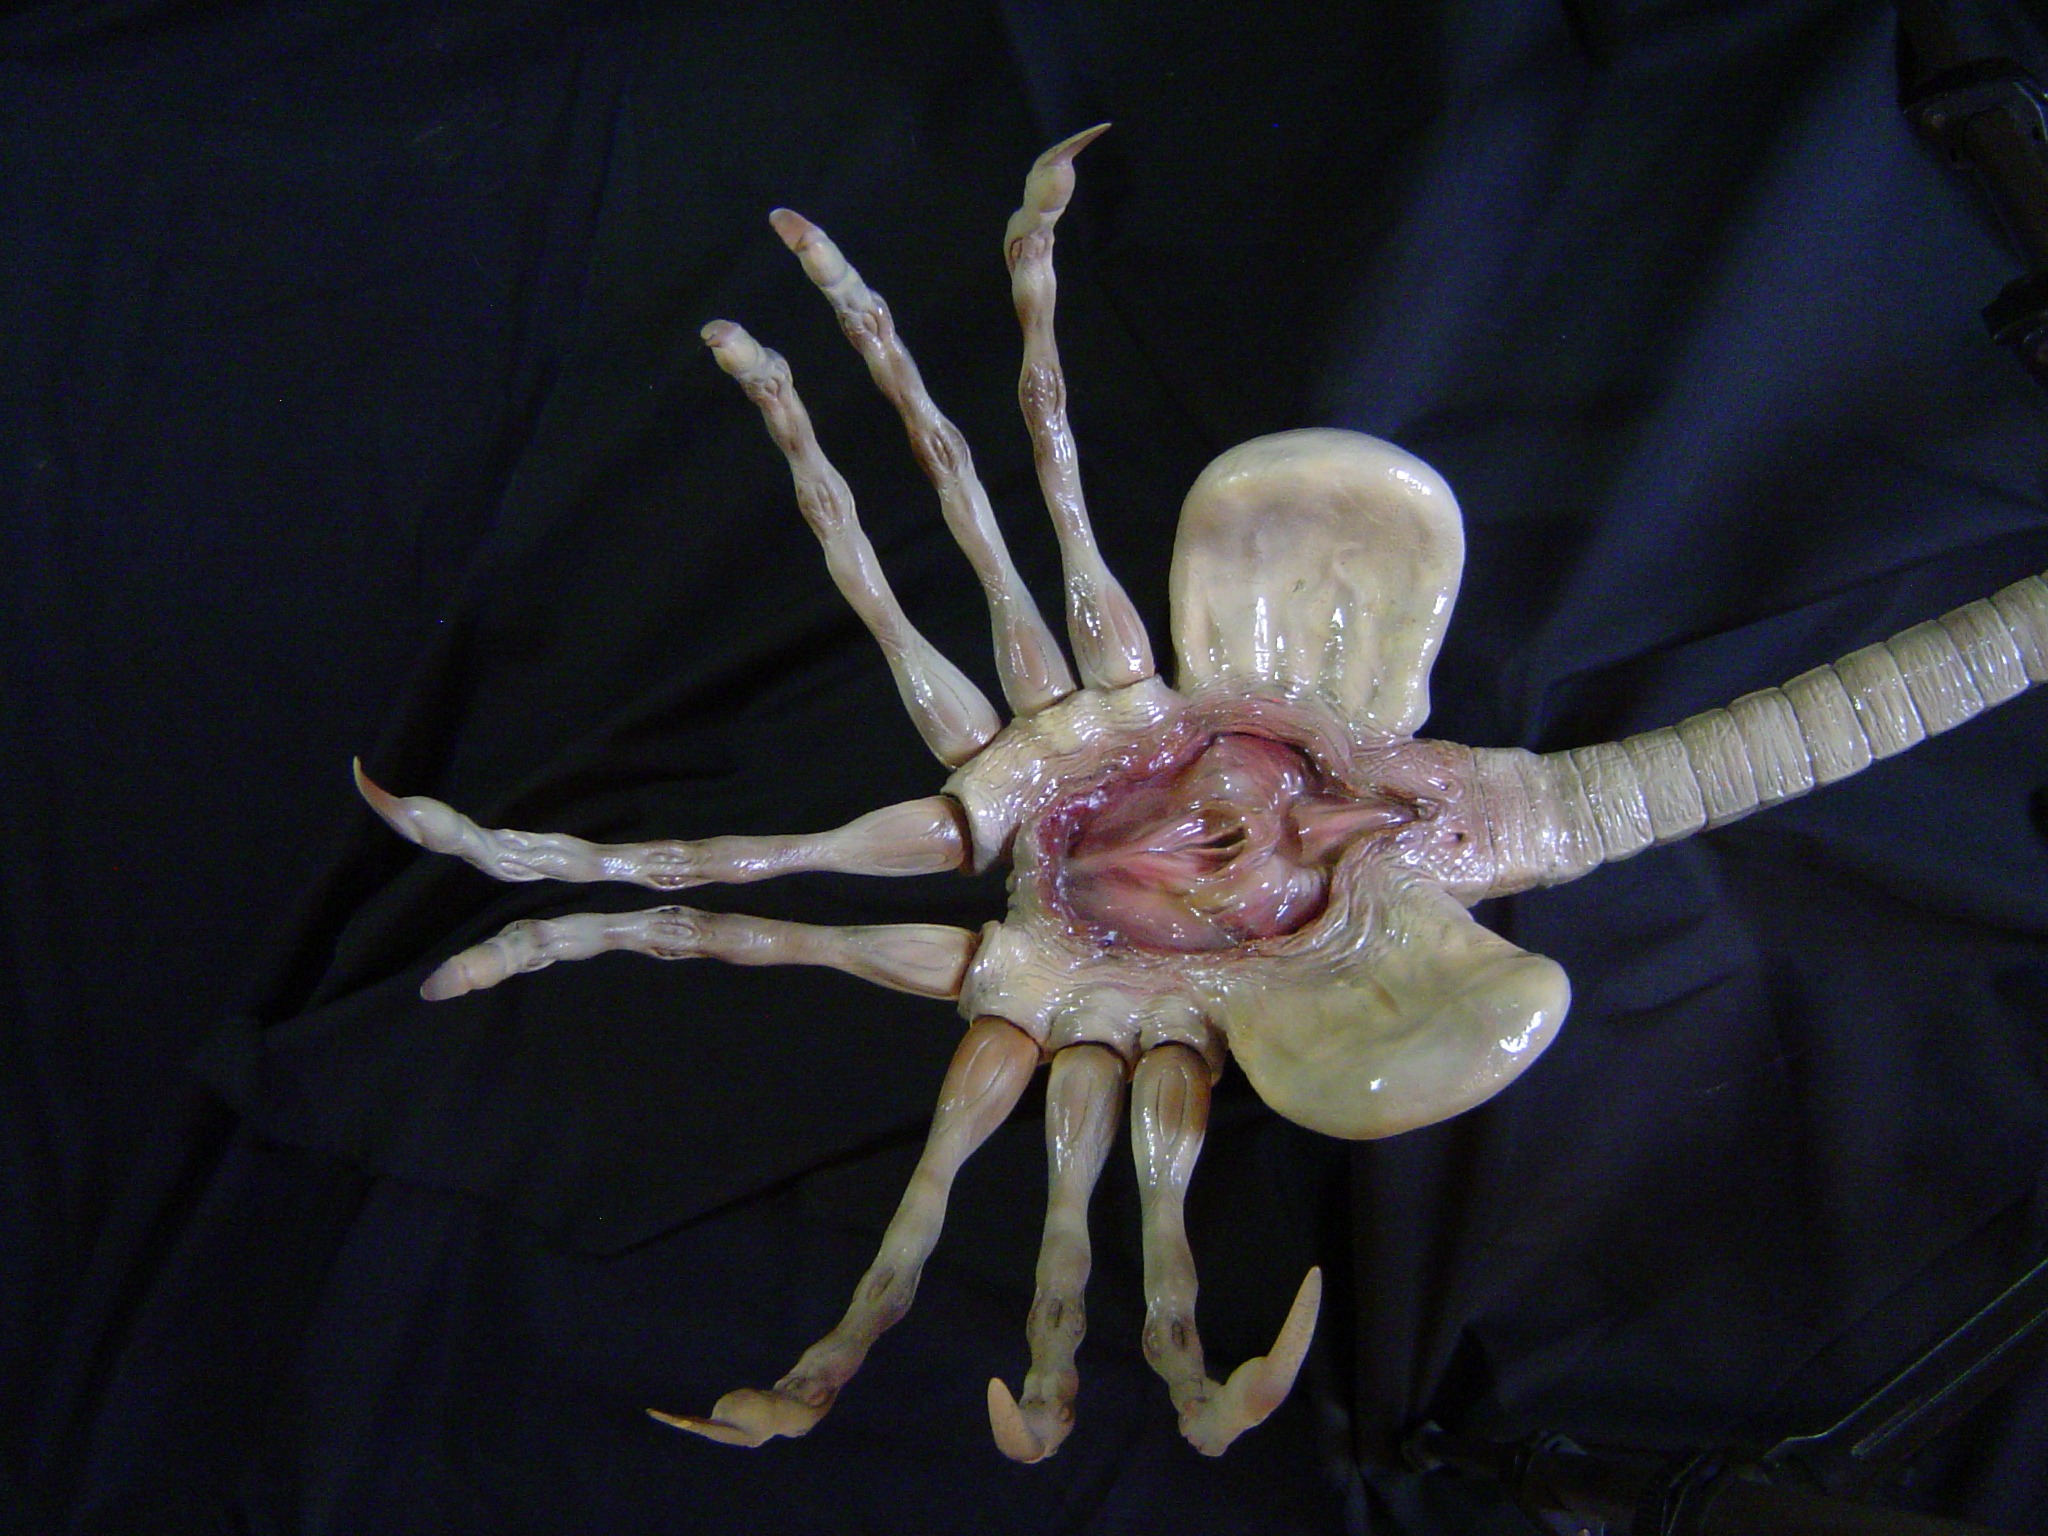
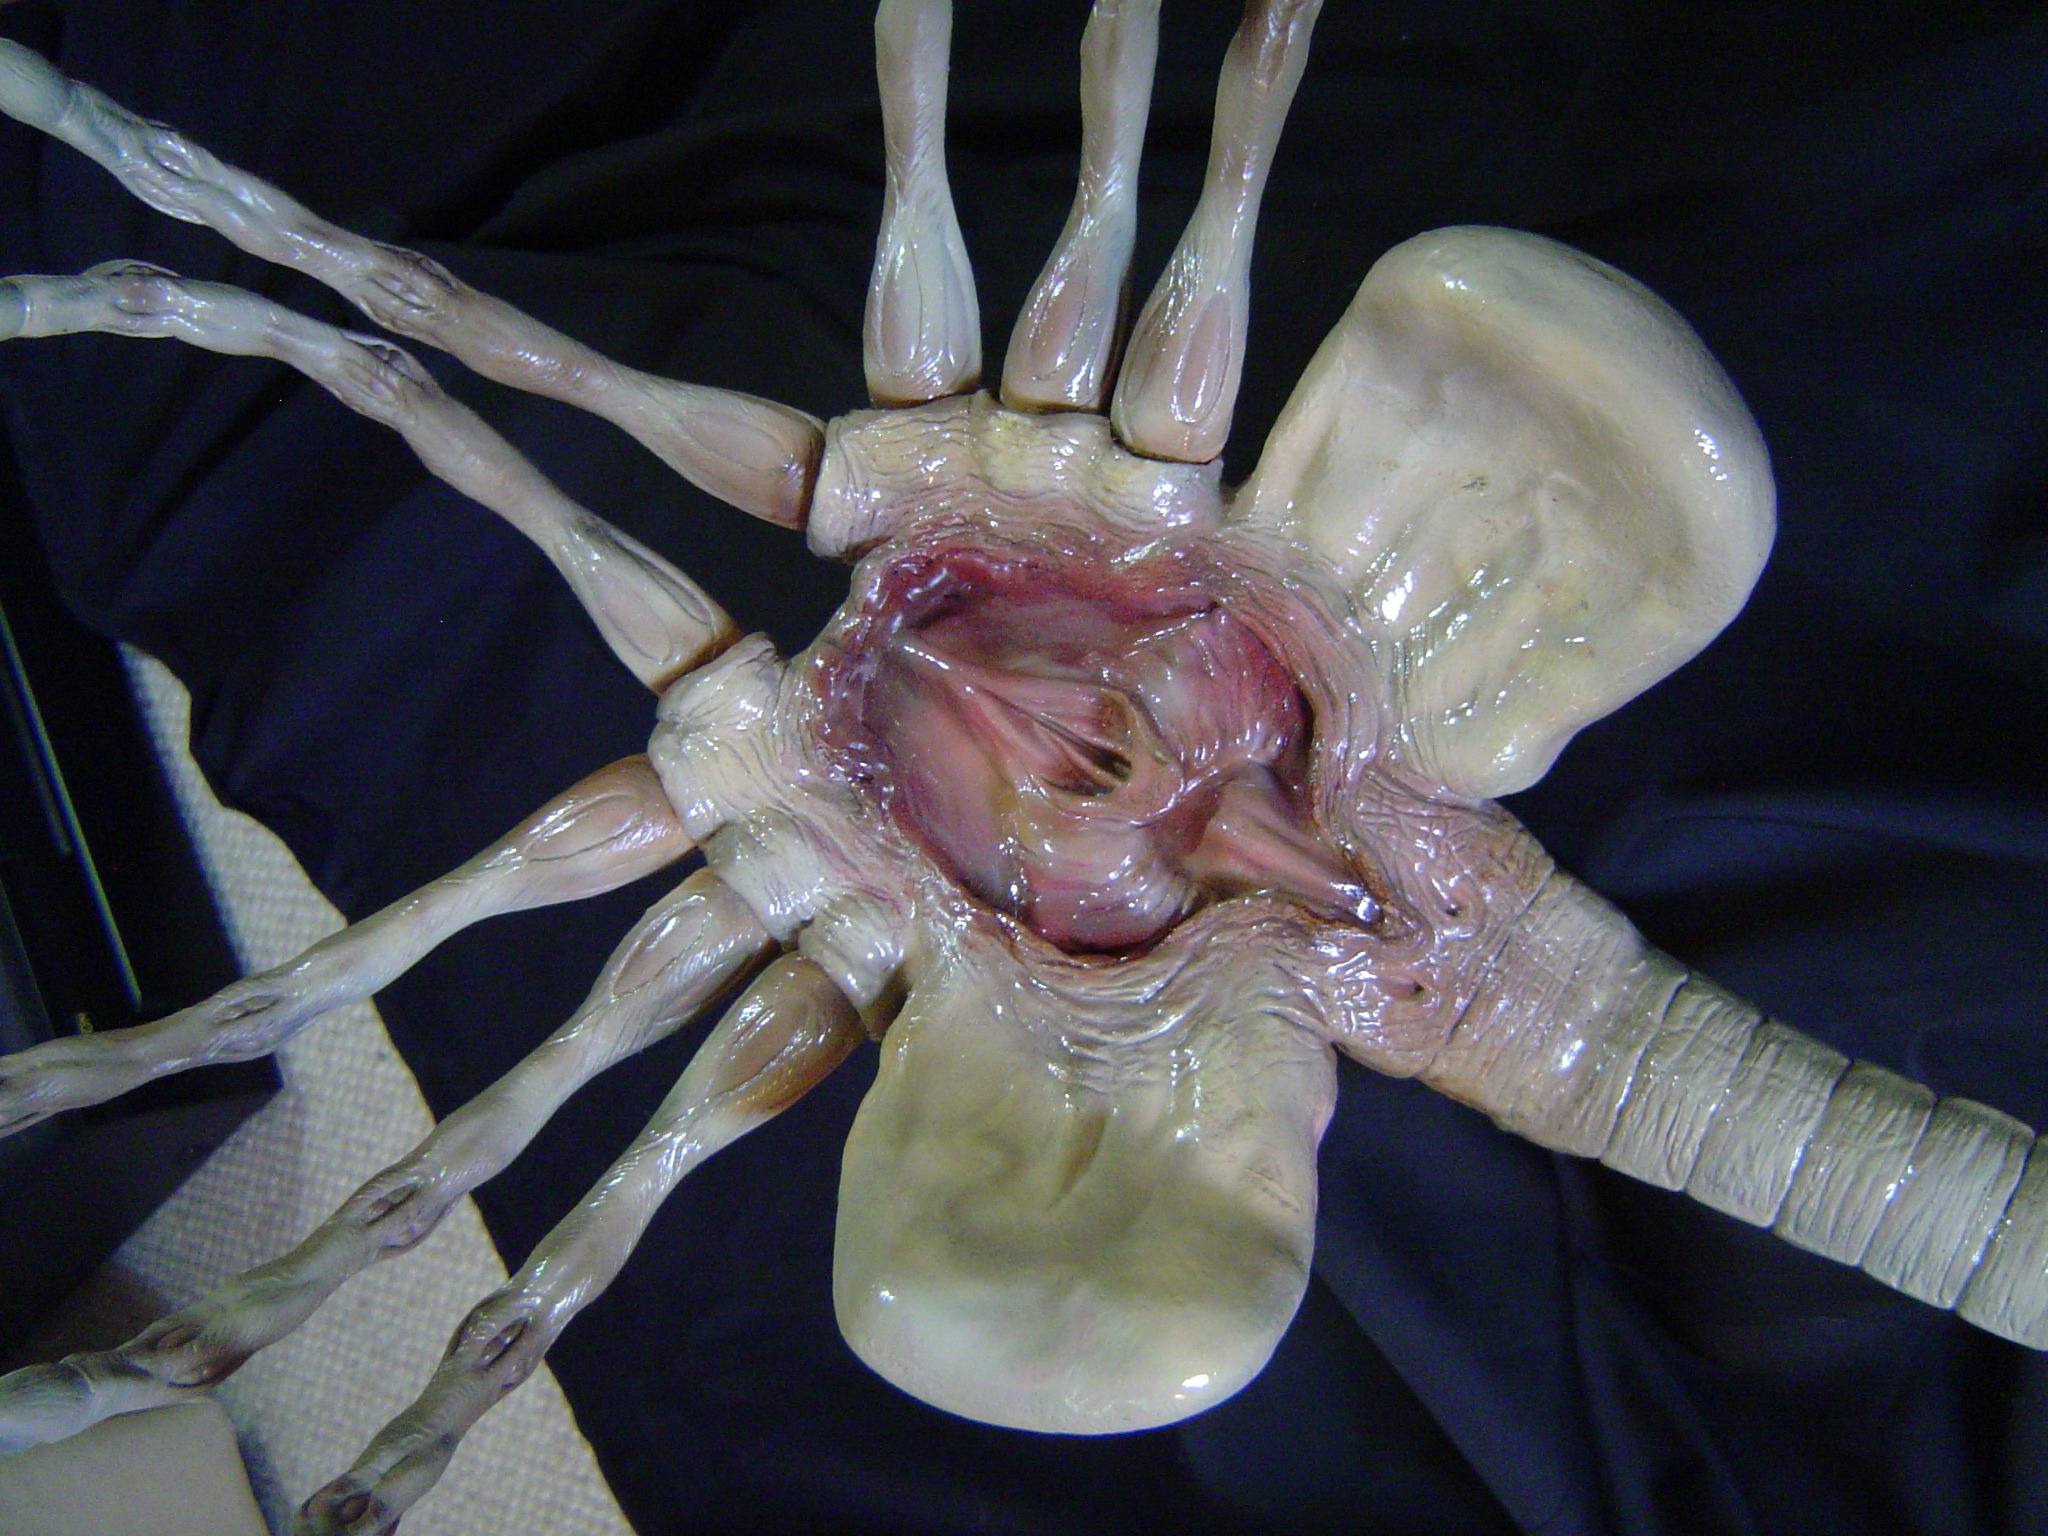
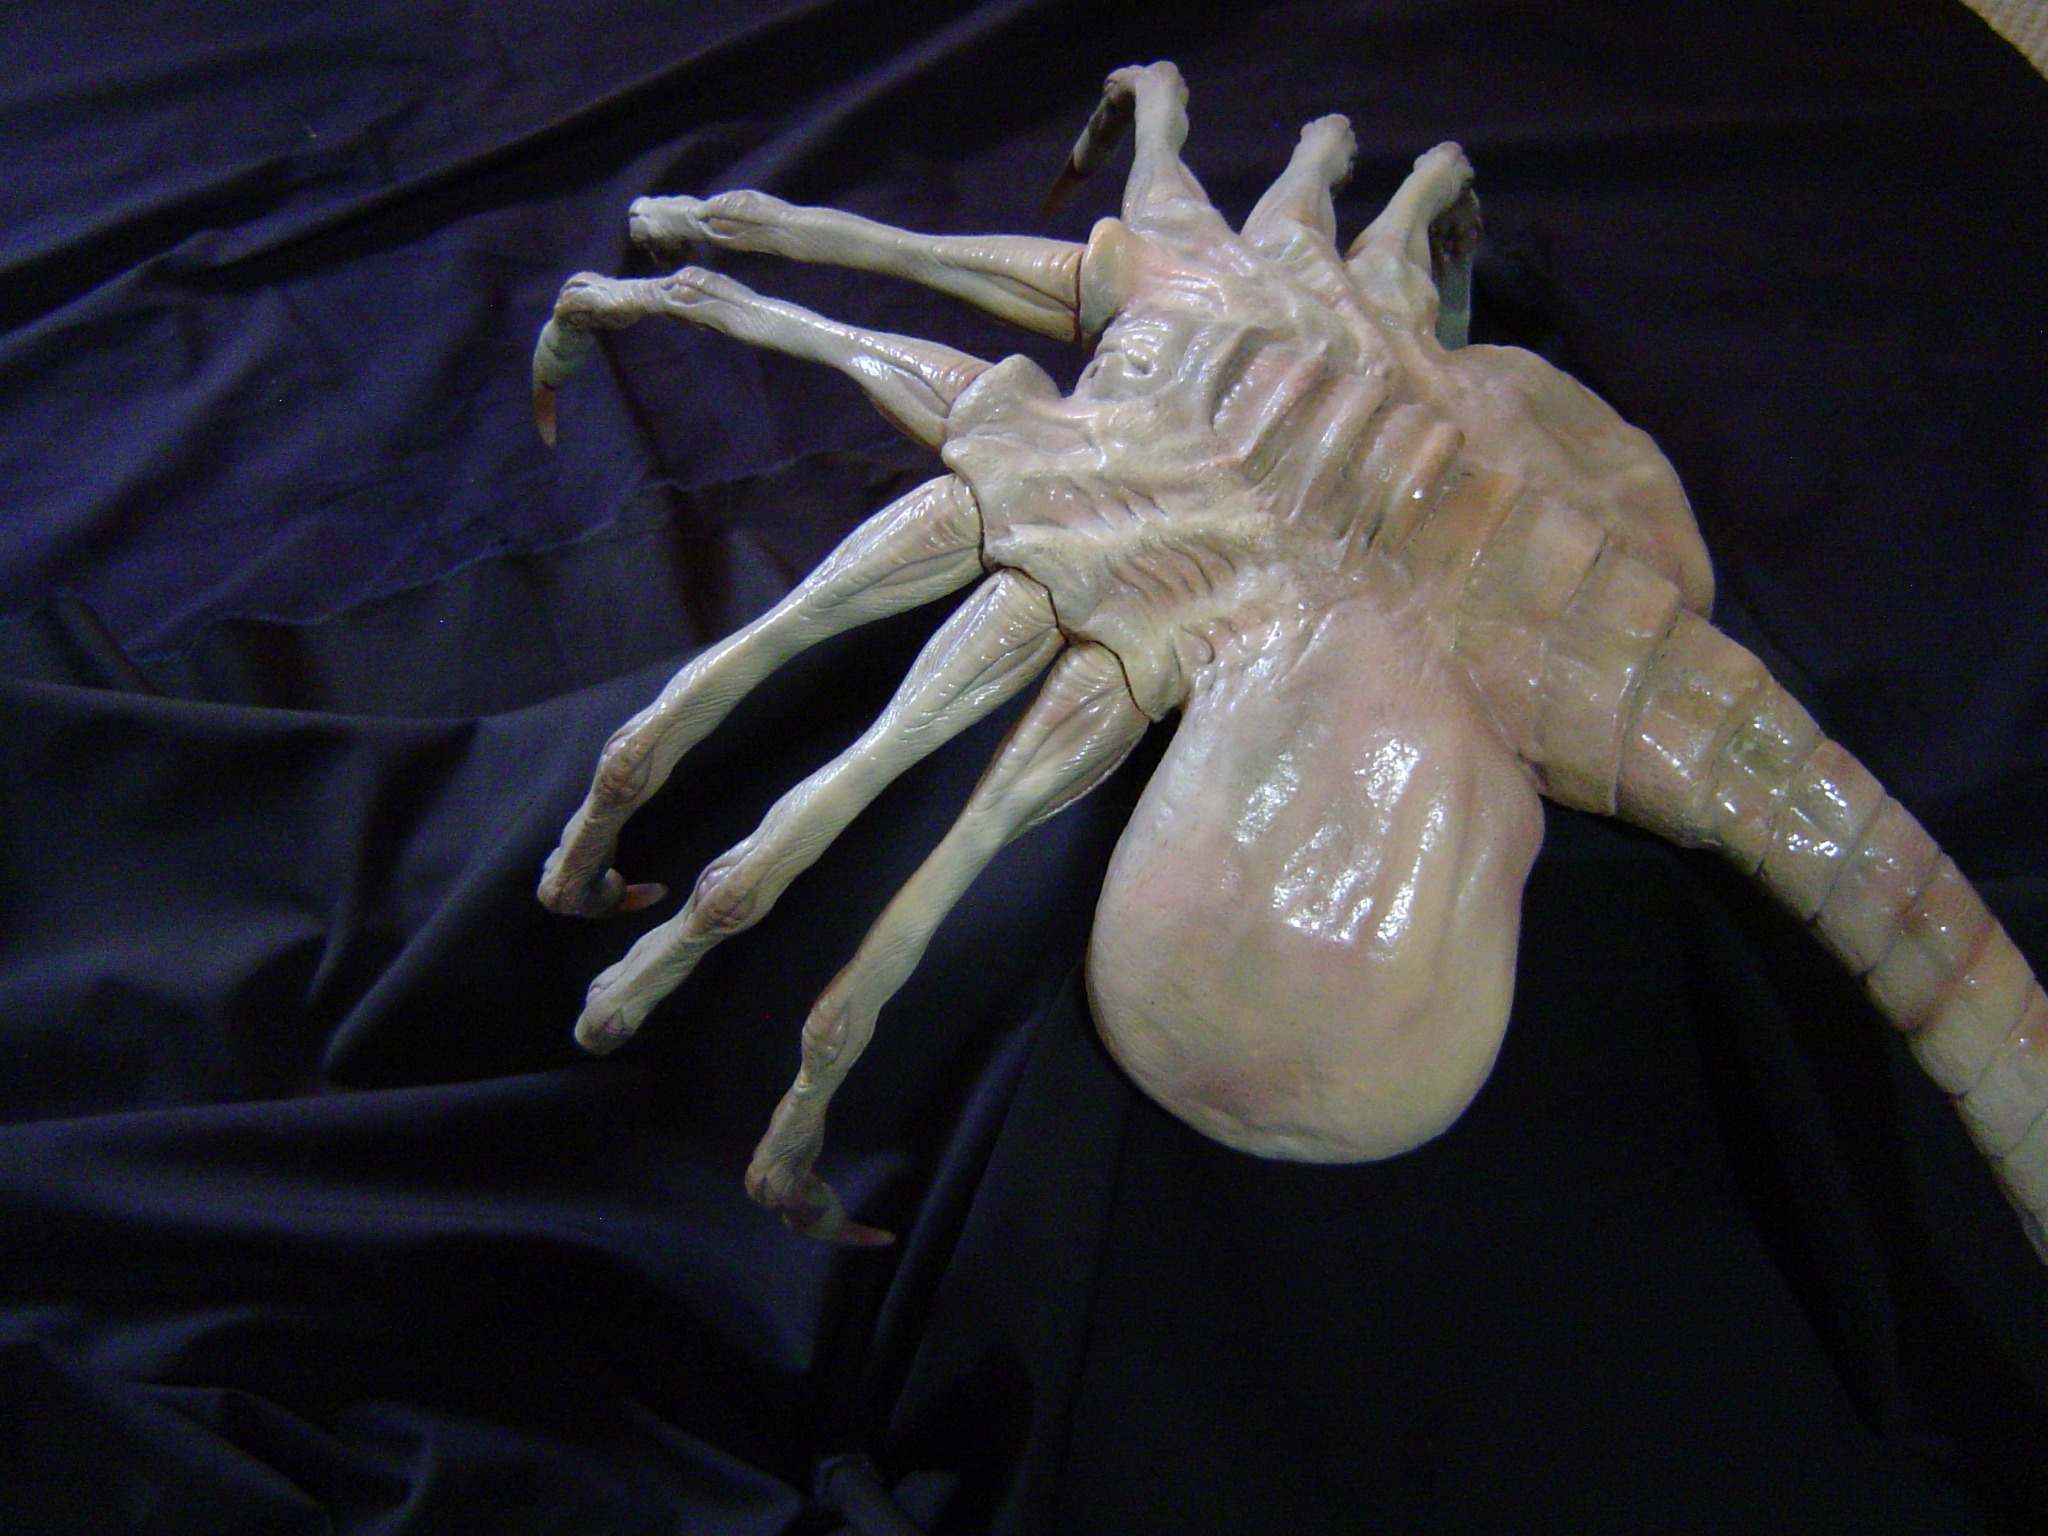
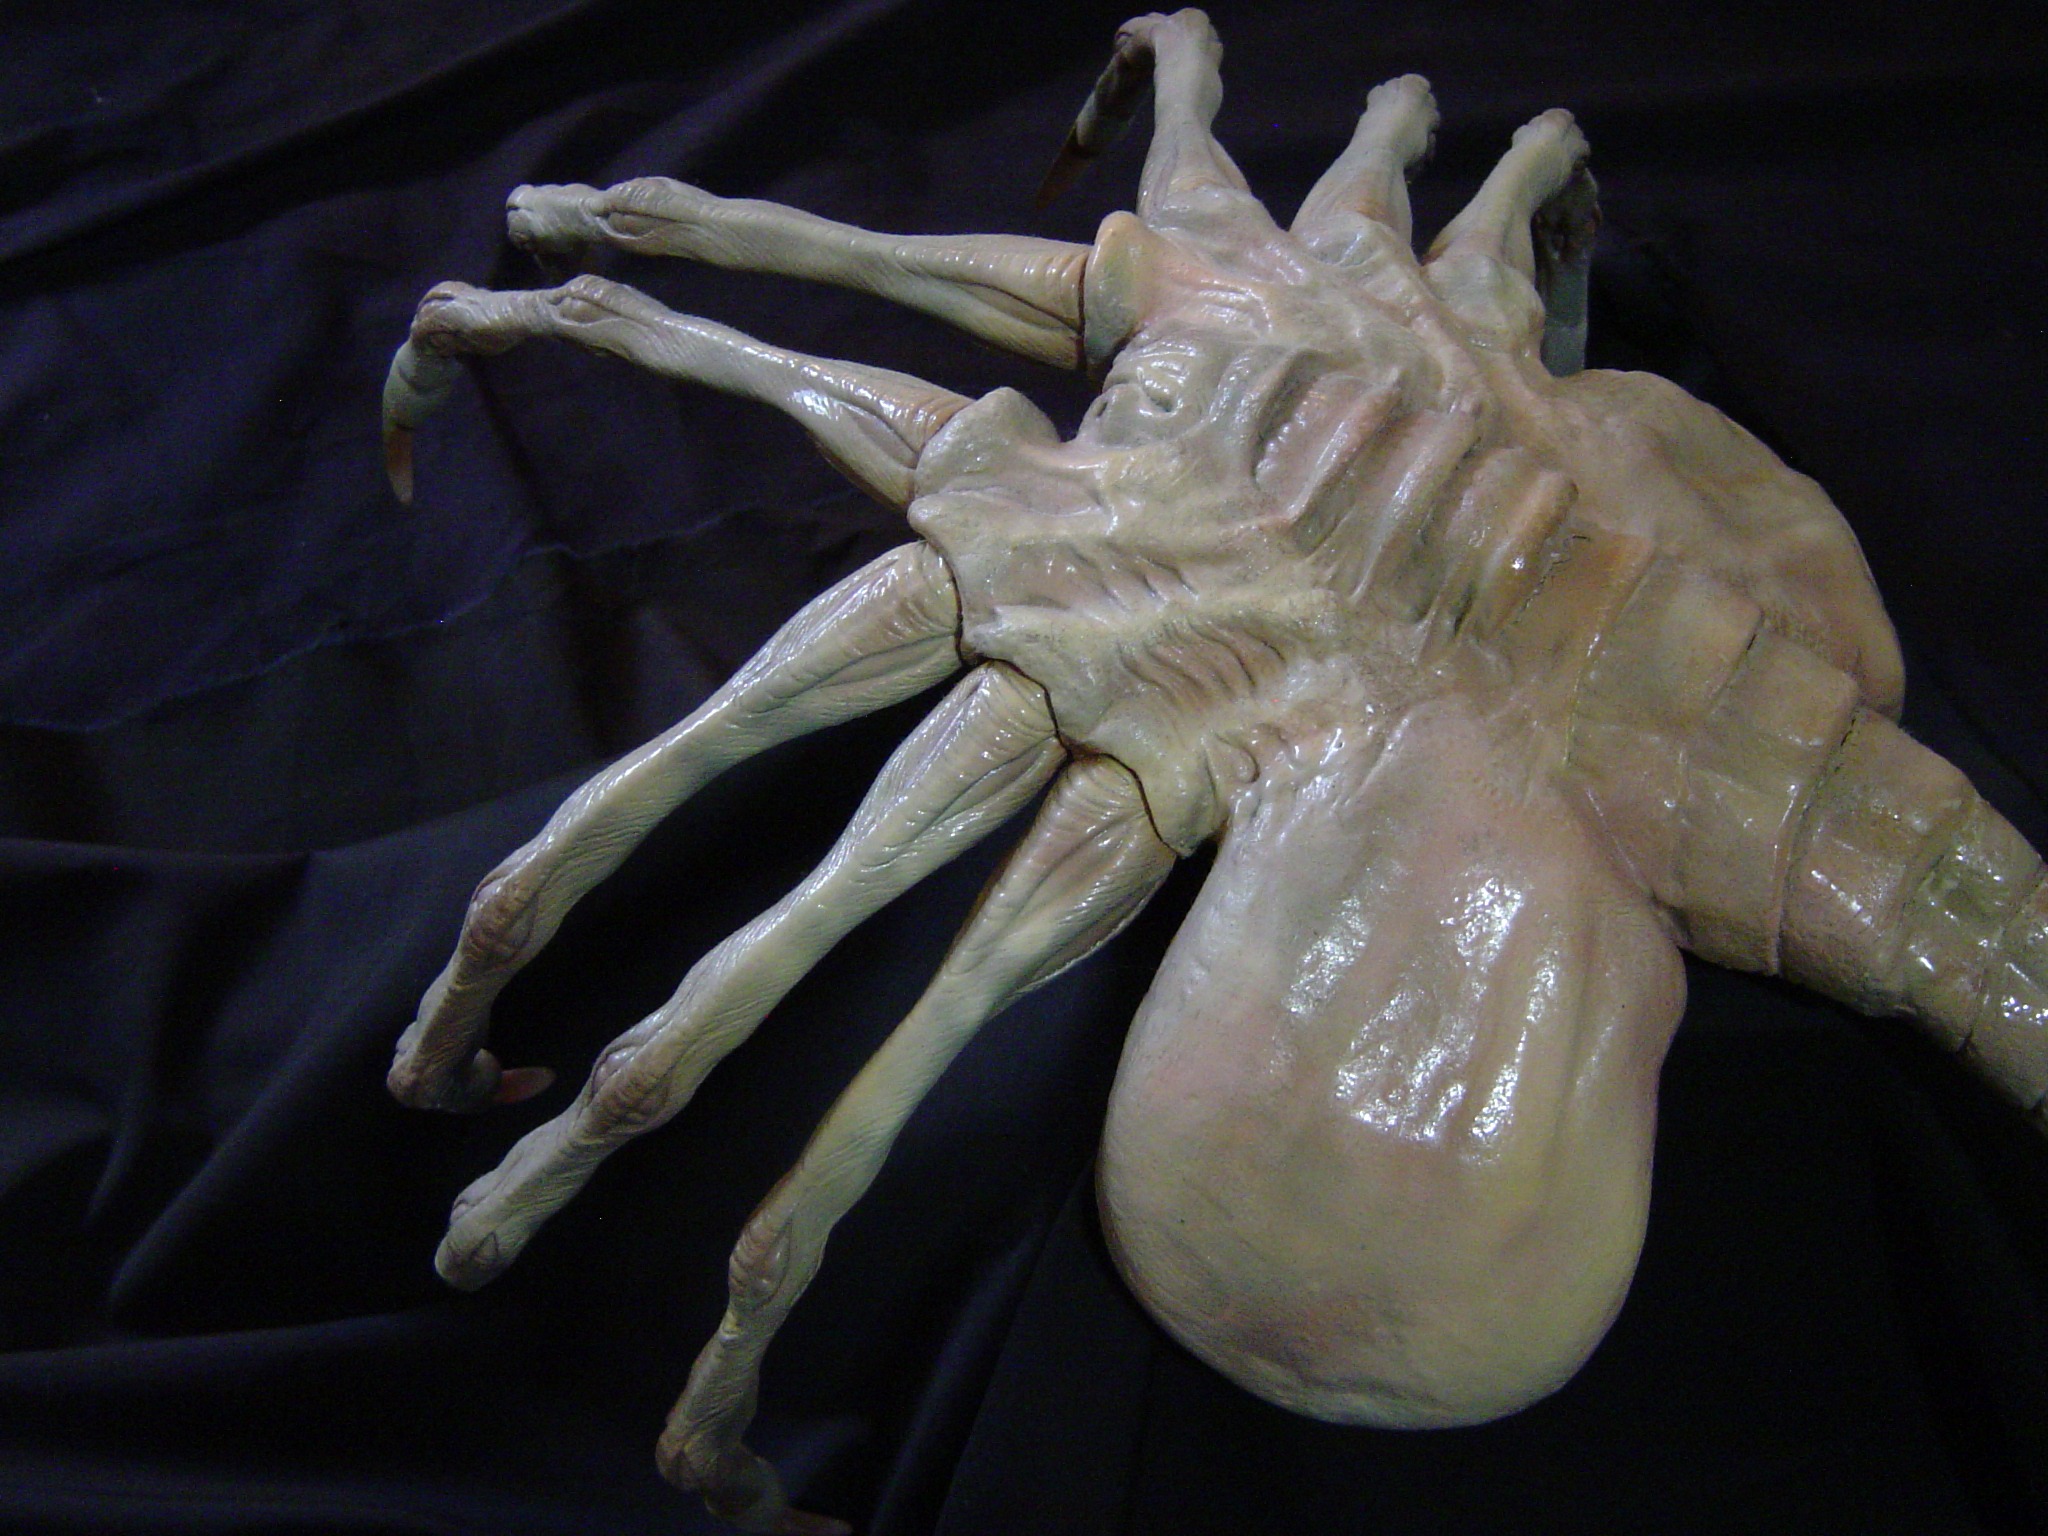
The Colours, I followed H.R. Geiger as much as possible, with sickly pallid custom flesh tones with darker paint underneath representing blood vessels. The business part of the Hugger, I again used custom-made skin tones with an enamel bloody custom red to represent the creature’s organs. I misted this area with a little pearl so the fleshy tones take on a translucency to them. For the nails, I applied the same technique!
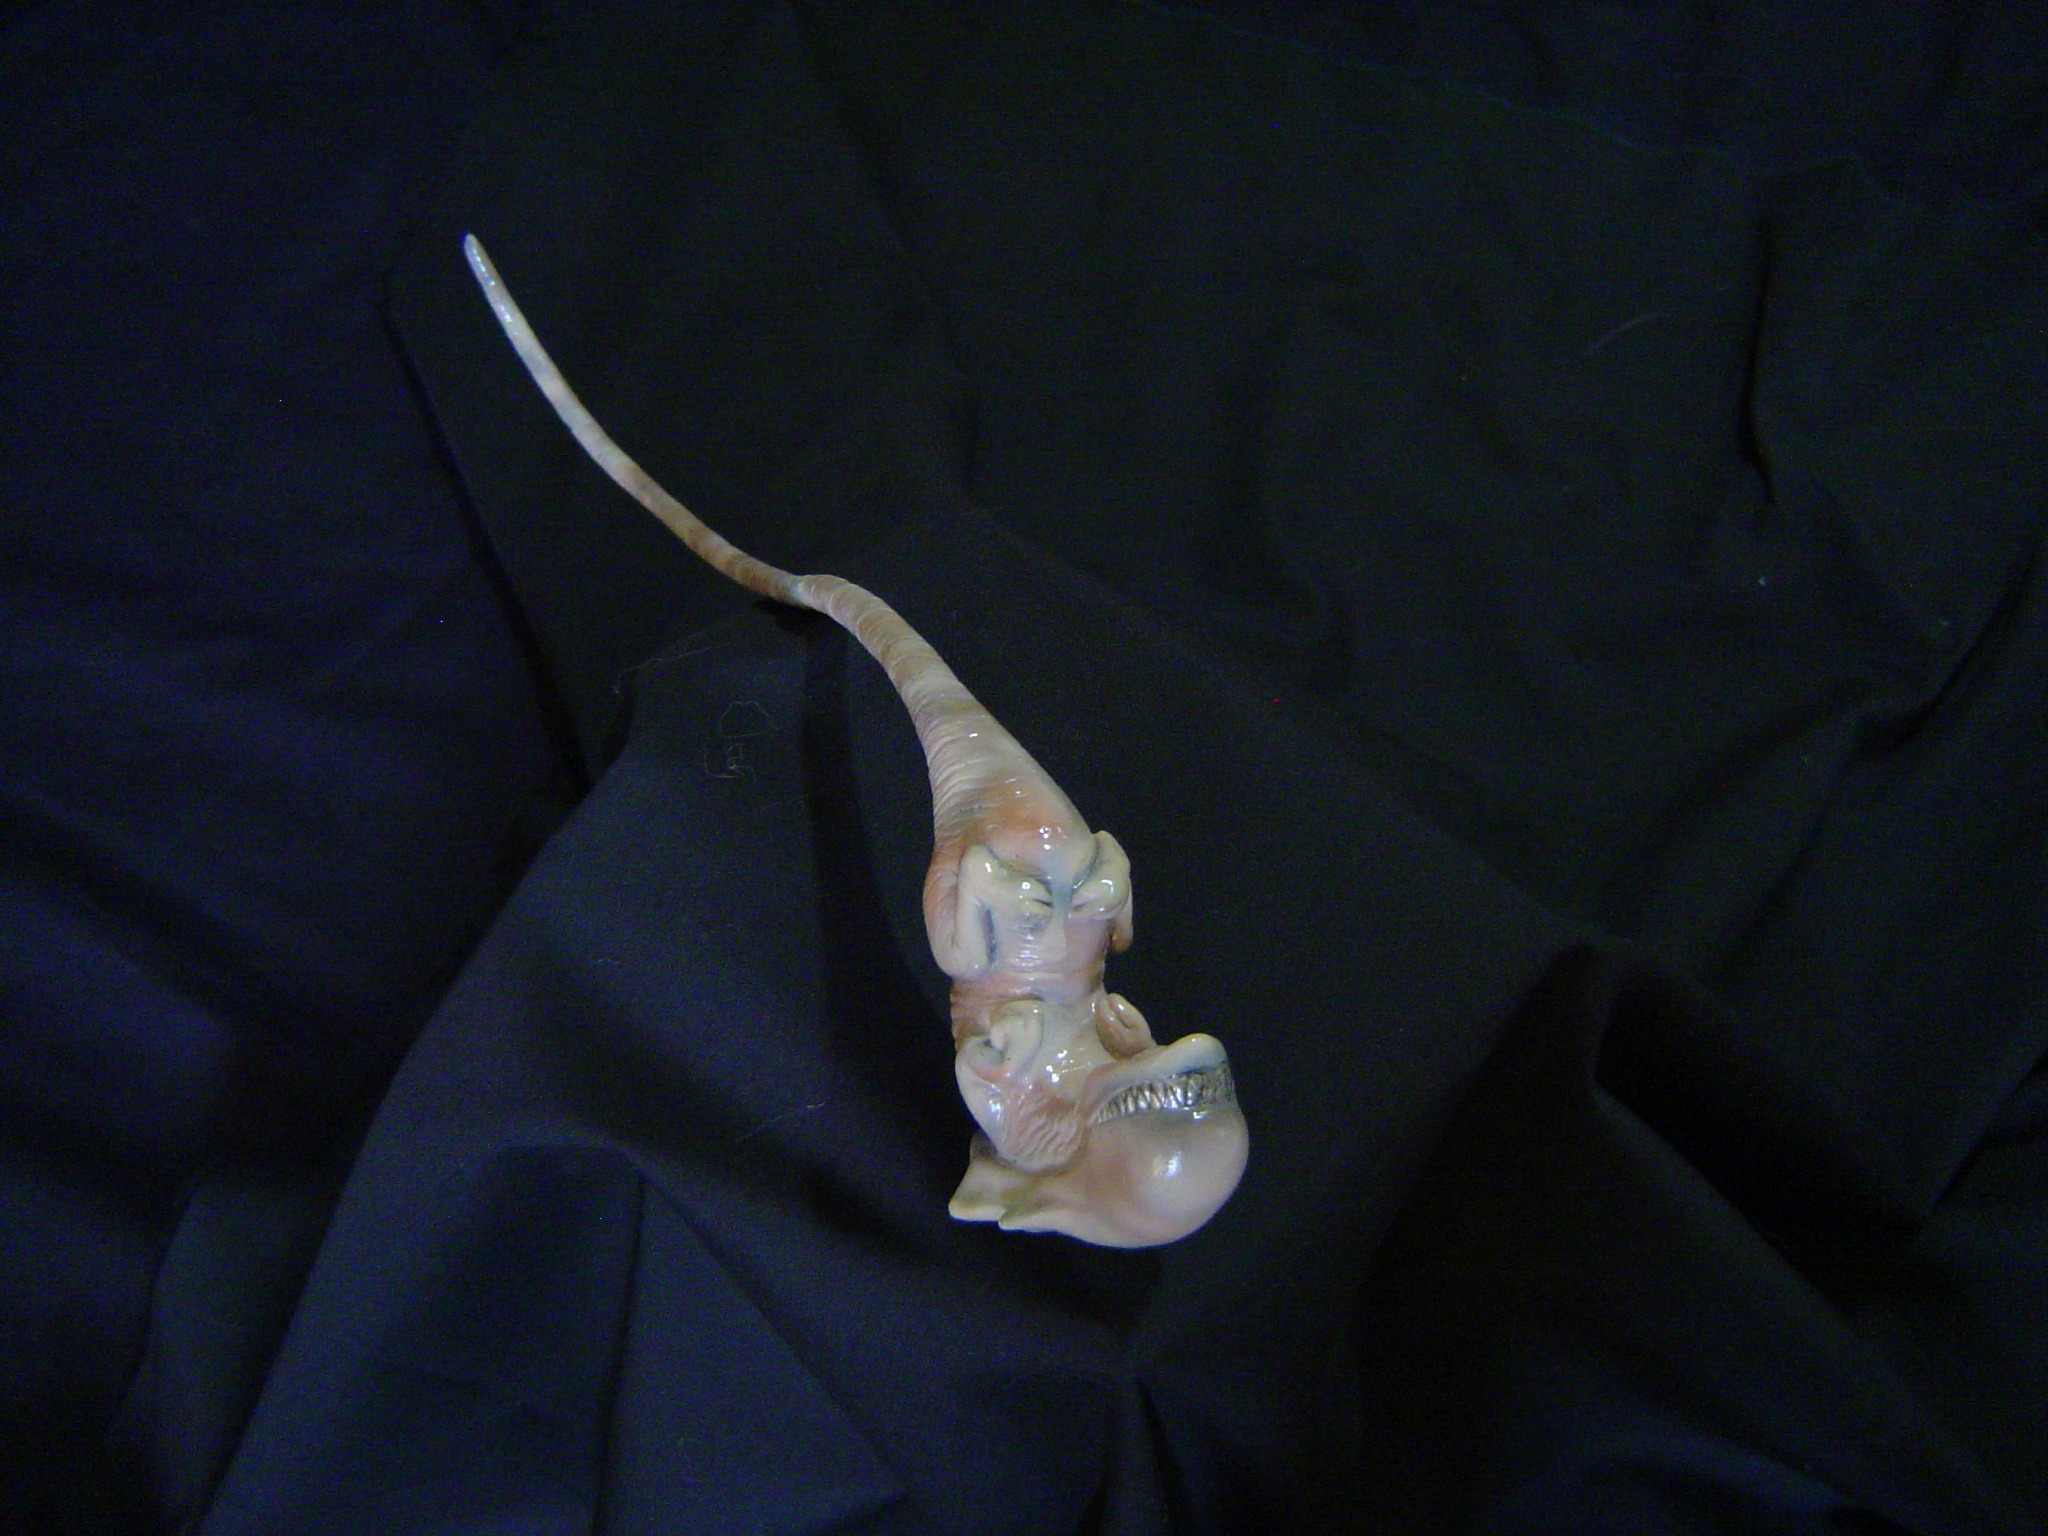
For the Queen Foetus, I used the same method of filling with silicone and using the same palette. The teeth are a Tamiya Titanium Silver blended in with Tamiya’s Smoke. Both models were glazed over with polyurethane lacquer to give an impression of that sickening oozy Xenomorph wet look. Using a combination not to be recommended experimental methods, this project took me three weeks from beginning to the end!
What an Ordeal, and it was entirely down to my experimenting! With any luck, you won’t find this write-up too boring. Signing Off…