

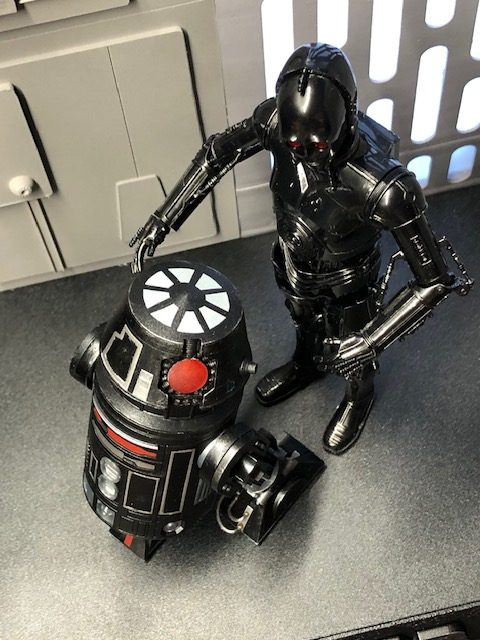
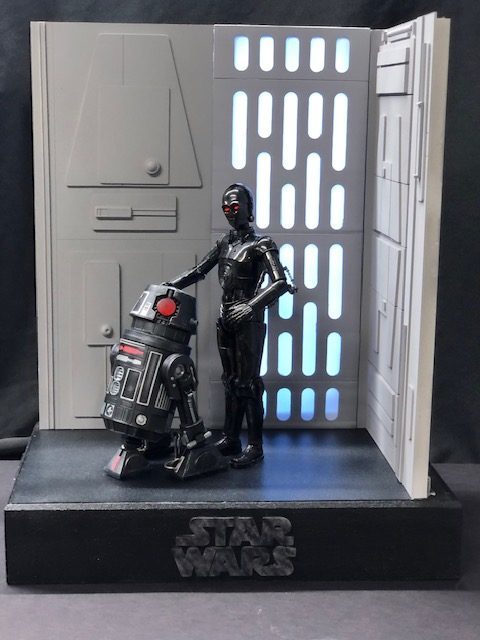
My MOTY build of 0-0-0 and BT1 was created by combining conventional model building, scratch building, and 3D printing. The kits used here were the Bandai 1/12 scale 0-0-0 and R4-I9 models. The characters 0-0-0 and his counterpart BT-1 are from the Star Wars comics universe and were introduced in Marvel’s excellent Darth Vader series.
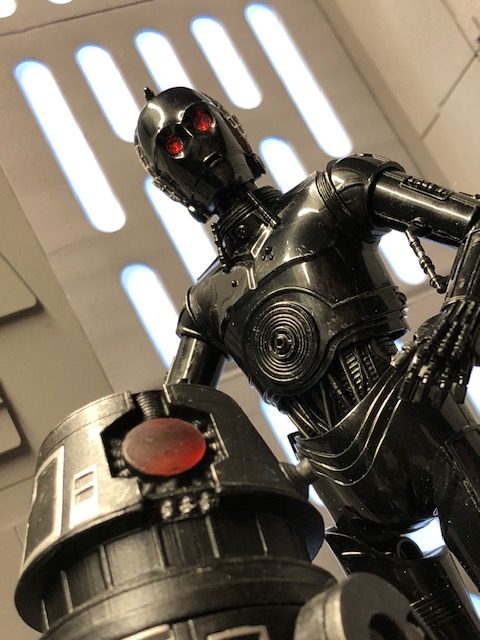
The Bandai 0-0-0 kit was one that I purchased at the 2019 Comic-Con in San Diego as an exclusive release. It is essentially the same as the C3PO kit but with the droid molded in a black metallic plastic along with clear red pieces for the eyes and back detailing. The droid’s eyes were lit with pico-sized SMDs from evandesigns.com. Modifications had to be
made to the kit in order to feed the wires from the head through his foot.
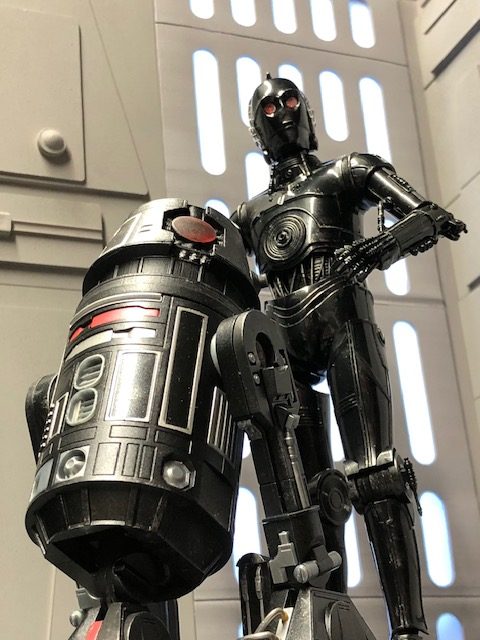
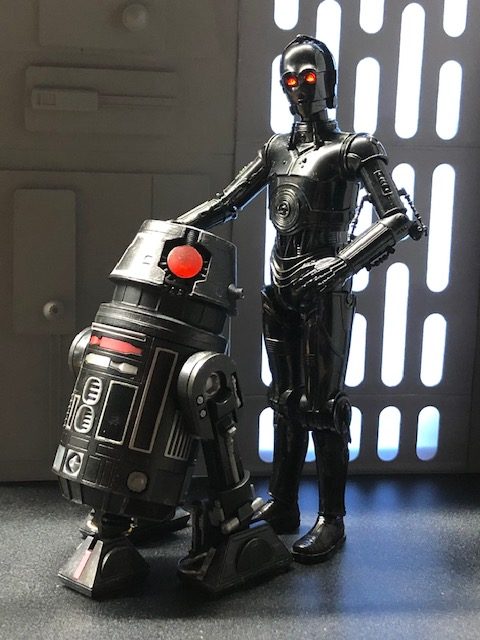
I decided to do some mild weathering but elected not to repaint the figure as the finish it came molded in was quite adequate. At first, I had intended to only build 0-0-0 and a display base but expanded the build to include his counterpart once I discovered a file on Thingiverse that would allow me to convert an R4-I9 kit I had in my stash. The two droids would need a larger display base so I also moved forward with a Death Star themed creation which would include a Death Star light wall along with adjacent wall panels configured into a corner.
The file used for a BT conversion head was designed to create substitute heads for the R2
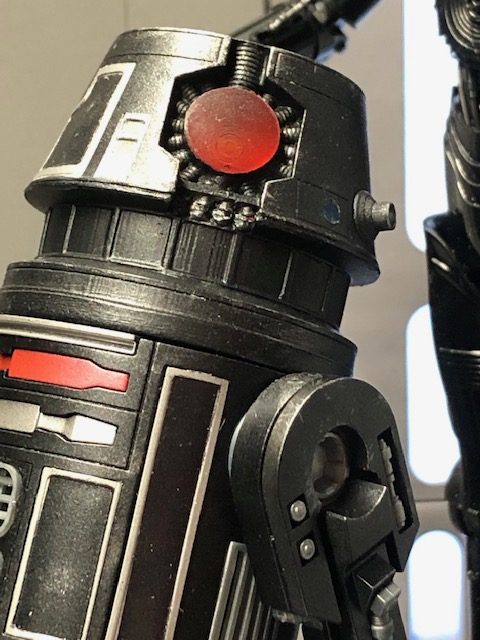
droids that you can construct at the SWars attraction at Disneyland/world. Using the Chitubox software I was able to size the head accordingly and printed the pieces for the neck and head using translucent resin with intention of lighting the droid. The pieces fit perfectly onto the R4-I9 model kit which is molded in dark blue plastic. The kit and 3D printed head were painted with Tamyia’s metallic black and I hand-painted all of the silver trim.
I designed a custom decal to create the pattern on top of BT1’s head. The head was lit with a red mega-sized SMD from evandesigns which illuminates his large single red eye. When completed it made a decent replica of the assassin droid. The base was a combination of scratch building and 3D printing. At first, I intended to entirely print all of the walls but the size of my printer requires the pieces to be divided into separate parts. The files for these were found on Thingiverse and were intended for 1/12 scale figures.
I was able to print the light wall by dividing it into halves the but 2nd wall had to be divided into 4 which turned out to be time-consuming. It is because of this that I decided on scratch building the 3rd along with the end piece that fits right next to the 3D printed wall. The light wall was lit with strip LEDs that I purchased from HDAmodelworx.com. These worked out perfectly as they were smaller and less bulky than strips I had previously worked with.
Overall I ended up with a very nice display of these infamous characters. 3D printing allowed me to come up with a unique piece that would have been impossible before. As this technology advances the sky will continue to be the limit for our imaginations to come up with more fantastic creations.